
All right. This is my first time doing anything like this so be gentle. Since the YouTube overlords hate the 2nd Amendment, posting a video on how to assemble an AR 15 from scratch is not really an option anymore. This is meant to be a guide for members of the Tundra Nation on how to build an AR15 from a pile of parts, but it would be cool if people from all over the internet are able to gain something helpful from it too. Feel free to share this around.
I’m not going to go into how much each part cost or how cool they are. I’m not cool, and don’t need to pretend to be on the internet. I will talk about why I chose certain components over others, and some of the parts I kind of wish I had thought through a little bit more.
Disclaimer #1: I have received formal training from the military on how to put these together, but some of the things I do are not in line with that training. I’ve learned a few things that work well for me that might not be they way others do it. This isn’t a definitive guide, but hopefully it’s helpful.
Disclaimer #2: This rifle is built in the caliber of 6.5 Grendel, but the steps will be identical for nearly all AR 15 or AR 10 builds.
Disclaimer #3: Due to my association with the firearms industry, I did not have to pay for all of the parts used in this build. In several cases, I used them because I had them and not because they are the bestest or my most favoritist brands in the world. If you know me personally, you know that I detest elitism. Please don’t use this as an excuse to start an argument of why brand X is better than brand Y.
Now, on with the show.
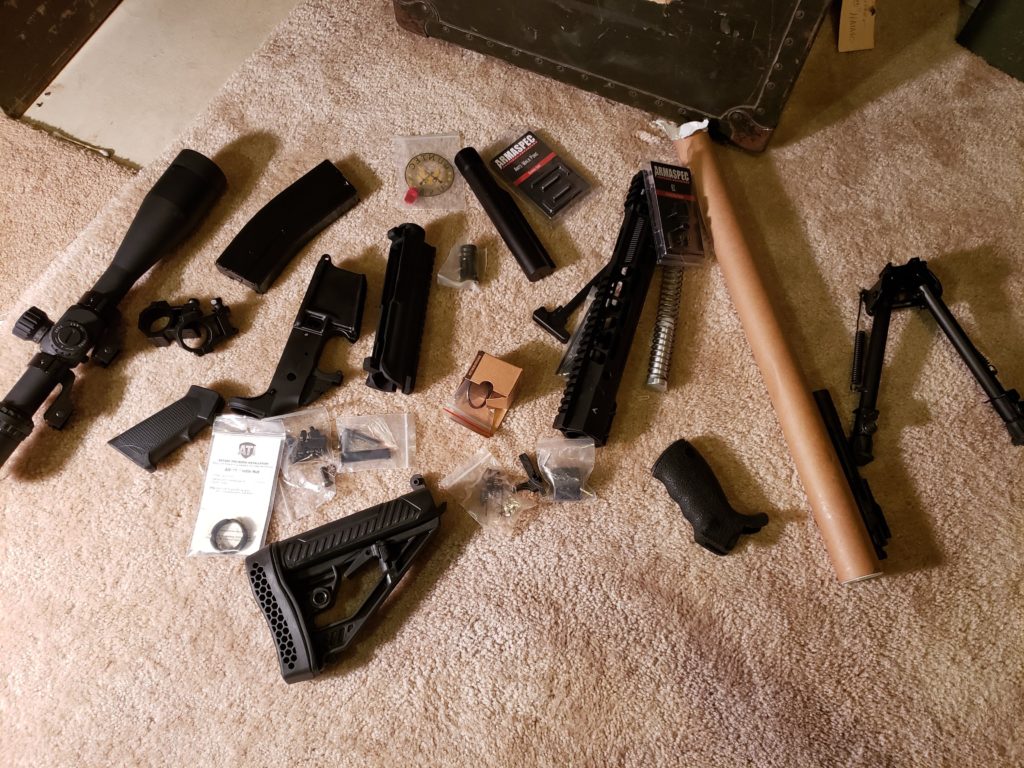
Here is a pile of gun parts on the floor. The floor is where I do the majority of my build because it’s easier to keep track of the tiny springs and I feel more stable manipulating the small pieces. The carpet helps to protect the parts while I work, and it’s not as cold as sitting on concrete floors. It does induce a certain amount of dog hair into the construction of the build though. Believe it or not, in less than three hours, all of these turned into a functioning rifle.
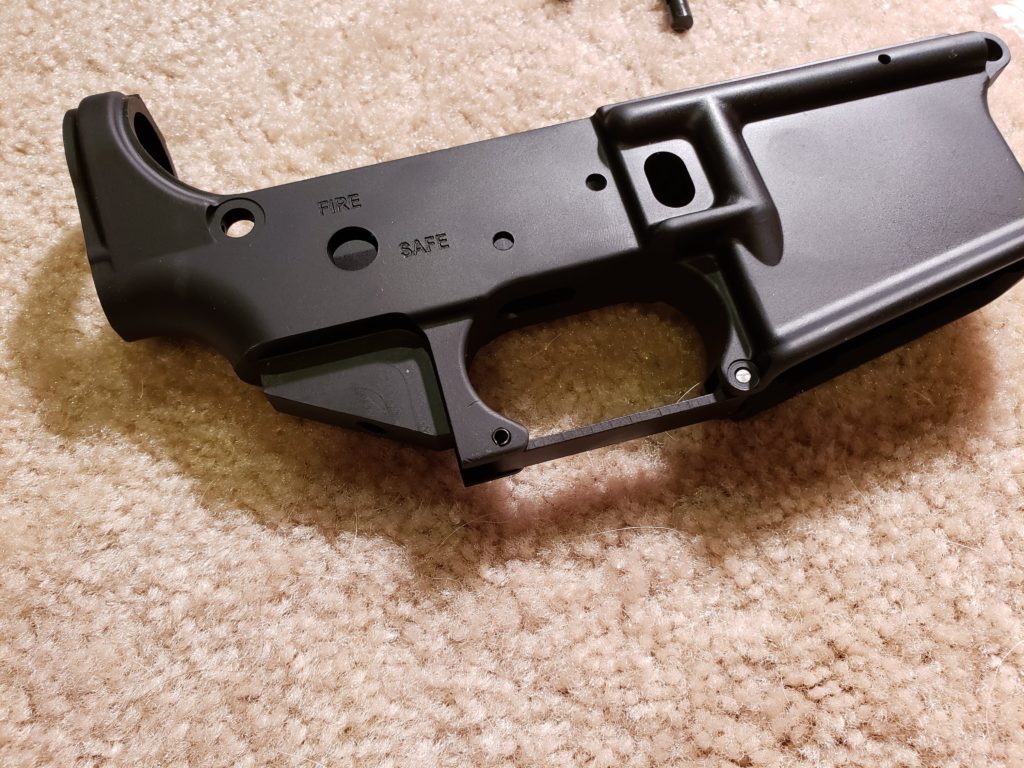
I like to start with assembling the lower receiver.
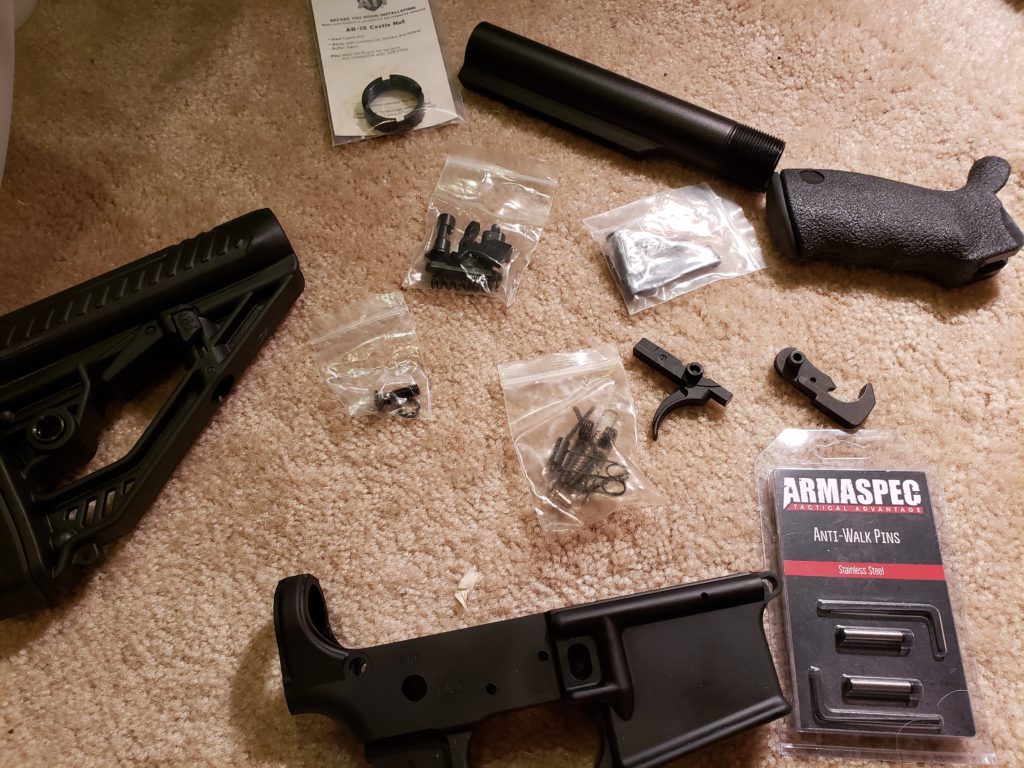
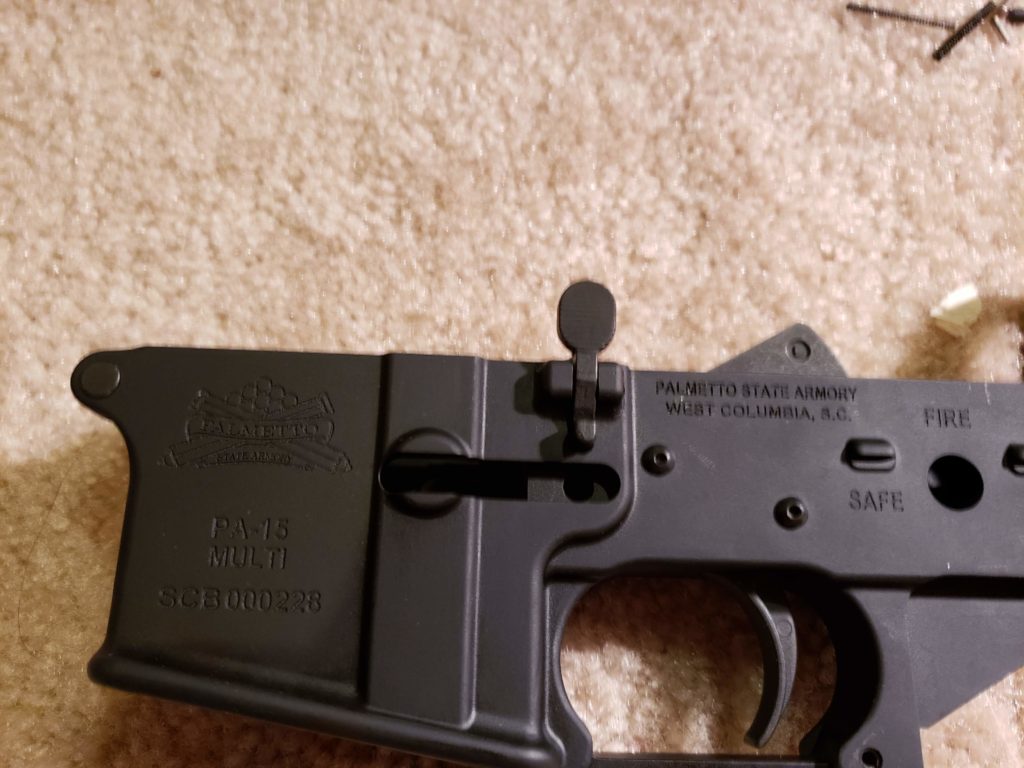
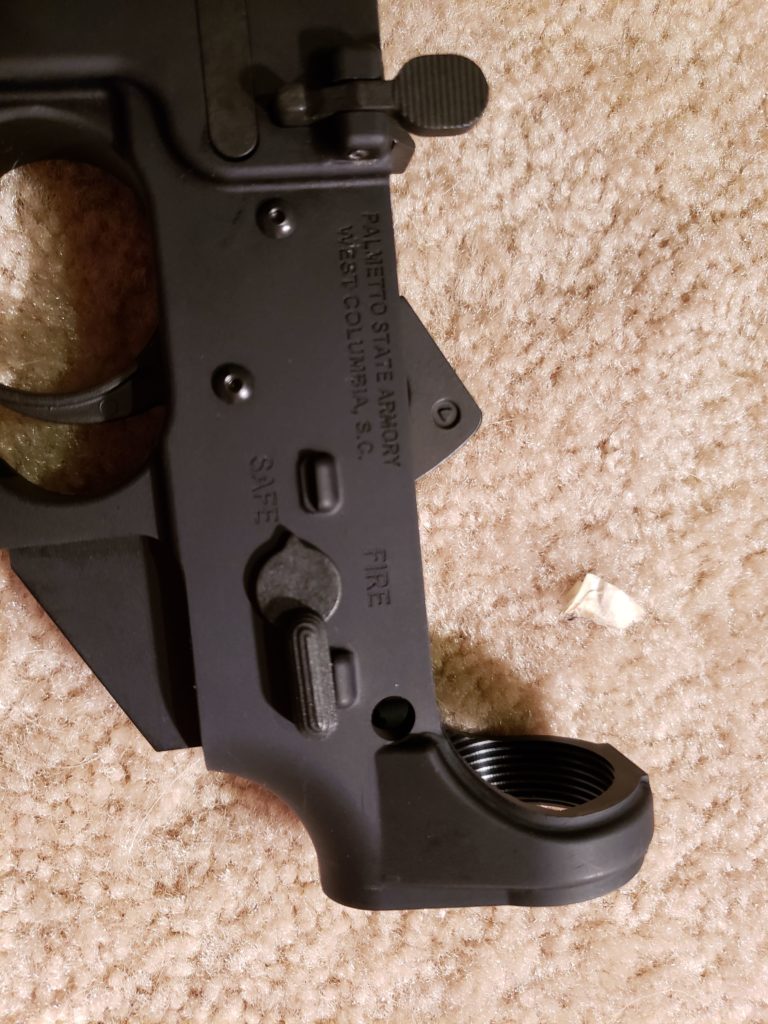
OK. Here’s everything you need to put the lower together. The brand of the lower parts kit really doesn’t matter. The only thing I’ve ever found to be different in parts kits is the trigger quality. I will probably trade out the trigger eventually, but for today we will be using this standard mil spec trigger. I’m swapping the mil spec grip for a Blackhawk one I got on sale because it’s a litter beefier for my long fingers, and the grip angle is slightly more vertical which I like. The buttstock is something I already had, and I’m not sure of the brand but I like it for a long range gun because it’s pretty large and should give me a nice cheek weld when aiming. The anti-walk pins are absolutely not necessary, but I got them for free so figured I’d use them. The buffer tube is carbine length, I probably should have gone rifle length with the longer barrel and gas system I’m using, but oh well, it should work just fine.
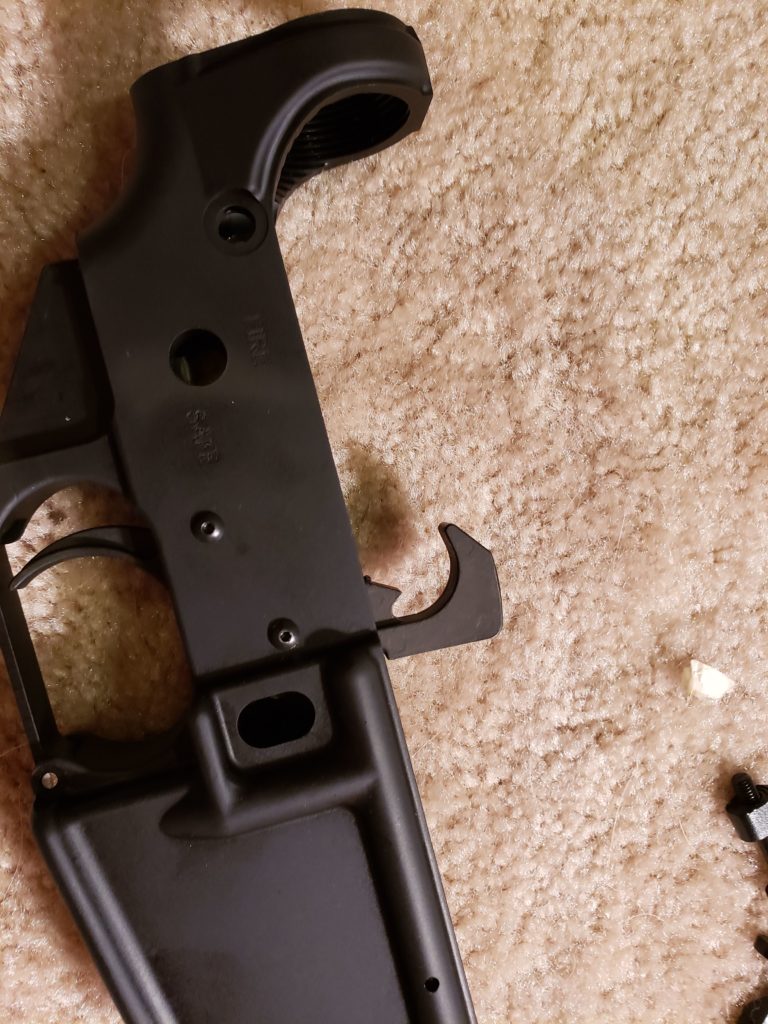
The first thing I do is arguably the easiest. I put the trigger guard in. This will be your first time putting a roll pin into the rifle. The can be a pain, but this one is pretty easy and a good intro to roll pins if you’ve never used them before. You’ll see me using the roll pin starter and punch further in the build; use them, they help. The front pin is just a pre-installed, spring loaded pin and it’s very self explanatory on how to install it. I like to put it in before the roll pin as it holds the trigger guard in place and makes it simple to line up all the holes.
Front detent pin and spring here. This can be the biggest pain for some guys. You see the background change because I’m in a light defusing box that I’m using to capture any flying parts if the spring launches that pin into oblivion. I usually use a paper bag, but this made it easier to photograph.
Simply insert like so.
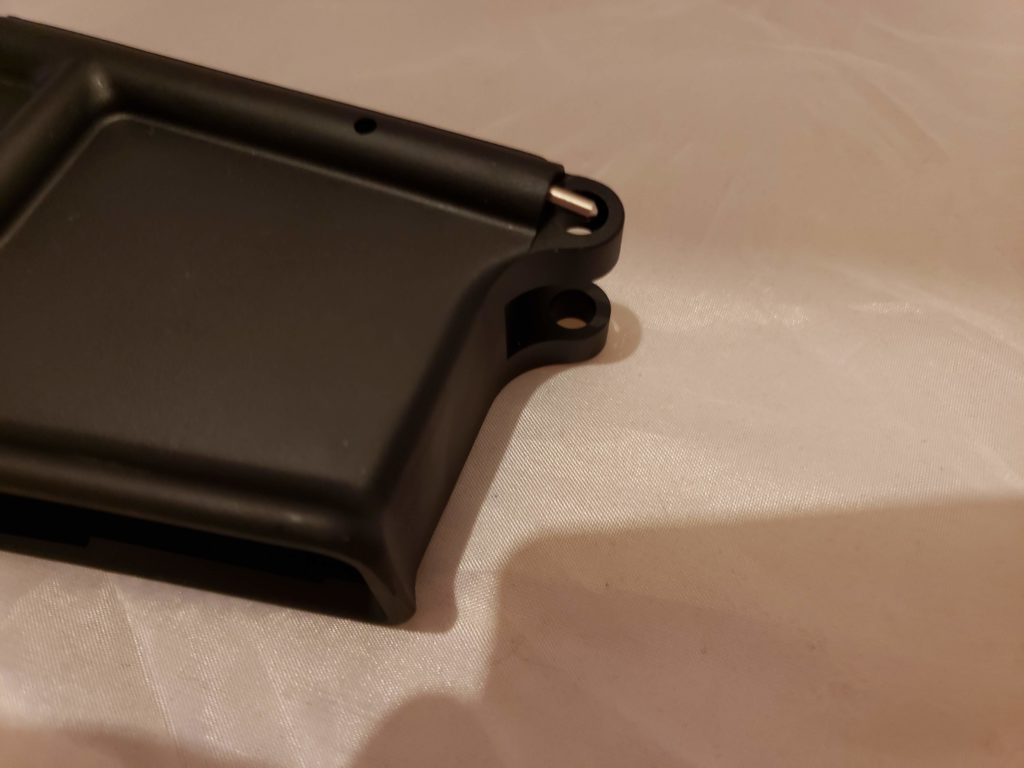
Spring first, then pin of course. The front take down pin will go in the holes in front of that little shiny bastard, and will be retained for probably the rest of eternity once installed.
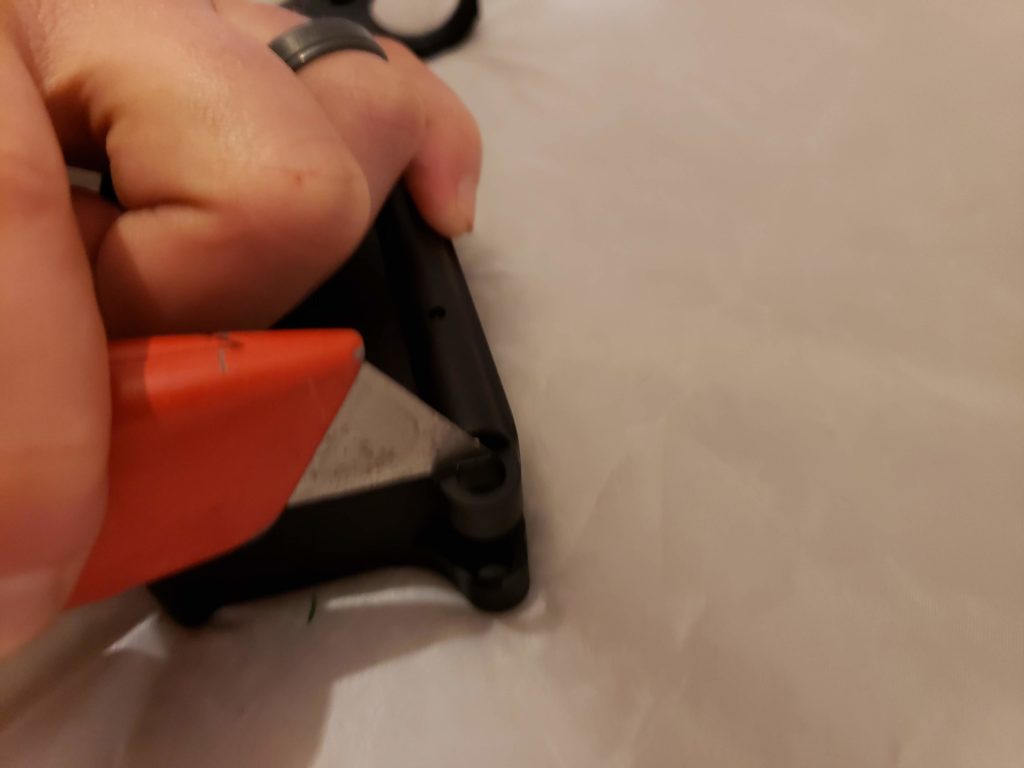
By depressing the pin with a razor blade, you will have room to insert the front take down pin pretty easily. It takes a little dexterity, but it’s not as bad as some people make it out to be. And yes, I’m glad I had this contained in the light diffuser because I did accidentally let the pin launch out at Mach 3 when trying to get a picture of this.
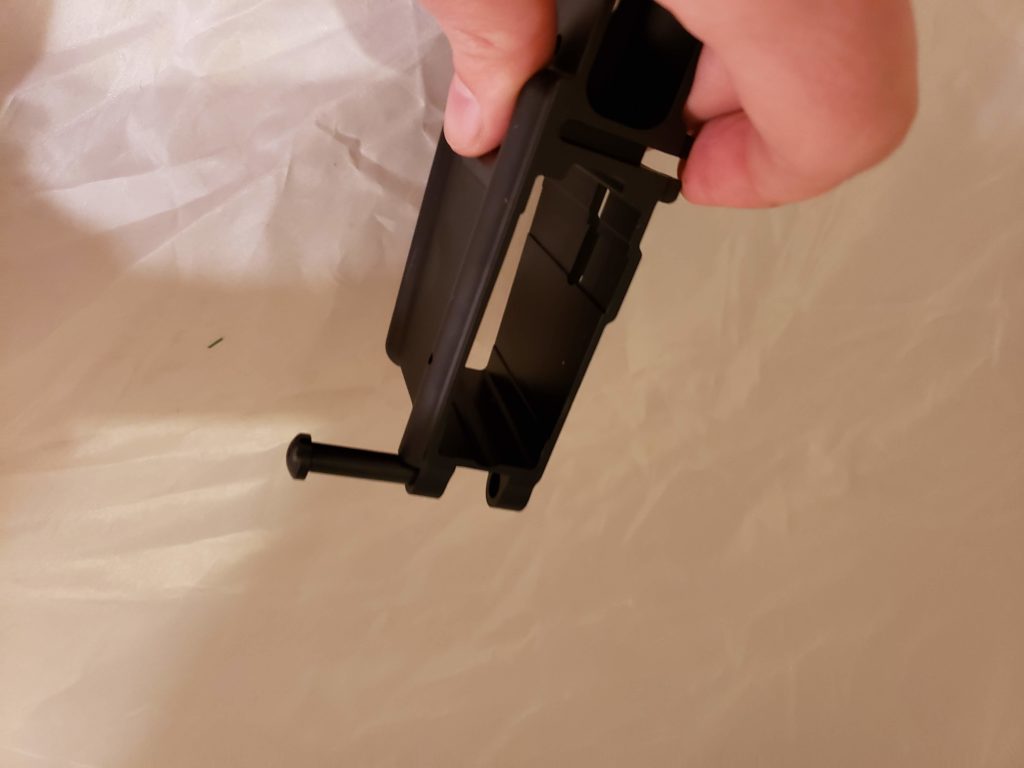
Boom. Installed. Make sure you use the longer of the two take down pins here, or else you’re going to have a bad time.
Next we’ll install the trigger.
This is the way the spring goes. There is no other proper way to put the spring on, so don’t mess this up.
Drop it in the way it looks like it should go, and retain it with the pin.
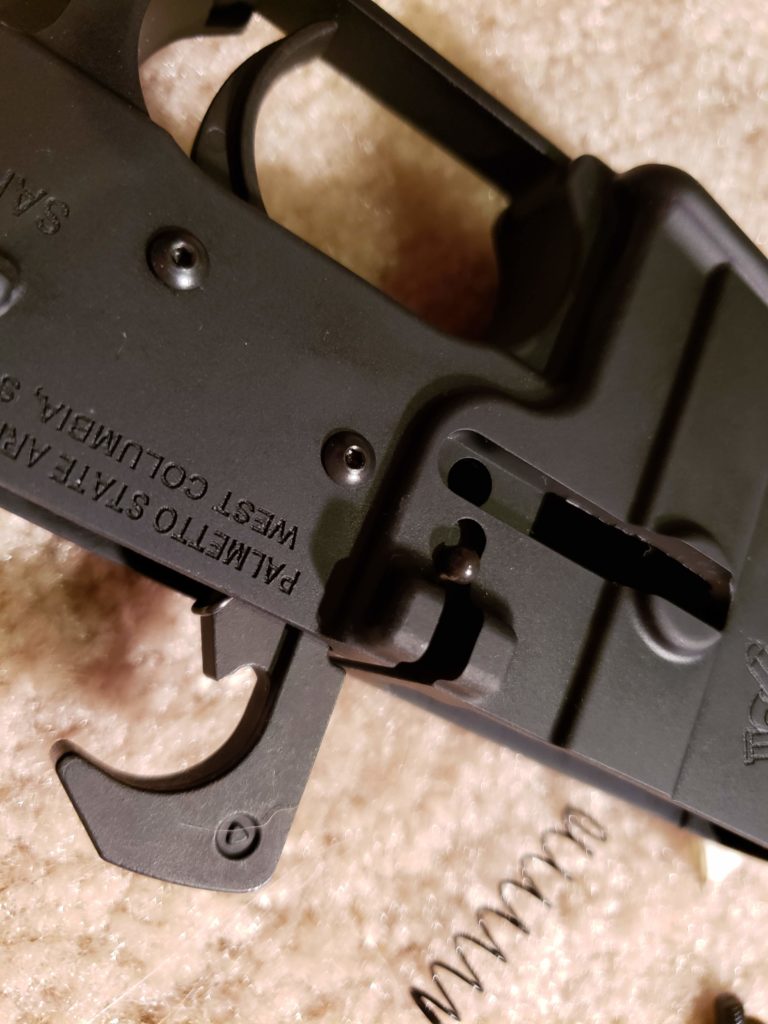
Here I’ve installed the disconnector spring. It’s the only spring that fits in this hole. You could have done this before dropping the trigger in, but I almost forgot about it so I didn’t do that. I used a needle nose pliers to seat the spring in there.
It’s hard to see the disconnector in there, but there is a little cut out that fits over the disconnector spring, it’s pretty obvious when you see it. Once the trigger and disconnector are in, you will need to fiddle around with putting pressure on the top of the disconnector while pushing the retaining pin in because the spring tension won’t let the holes line up perfectly without some help.
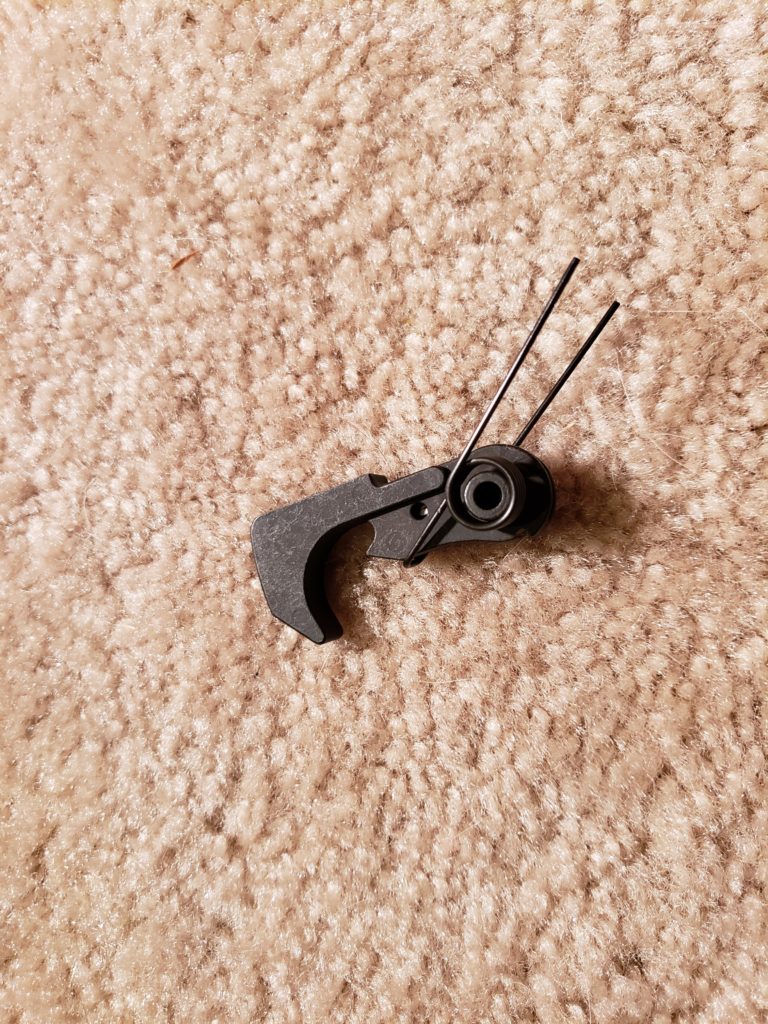
Now the hammer. This is the only way the hammer spring should go on the hammer. It can work other ways, but will be super unreliable and suck. Do it this way.
Due to a lack of a third arm, I had to put the hammer in without a photo. The legs of the spring will lay across the pin retaining the trigger, and you will need to use a decent amount of pressure to get the holes for the hammer to line up with the holes on the retaining pin. Once you get it started, it’s ok to use some light tapping pressure from your hammer to coax the pin along.
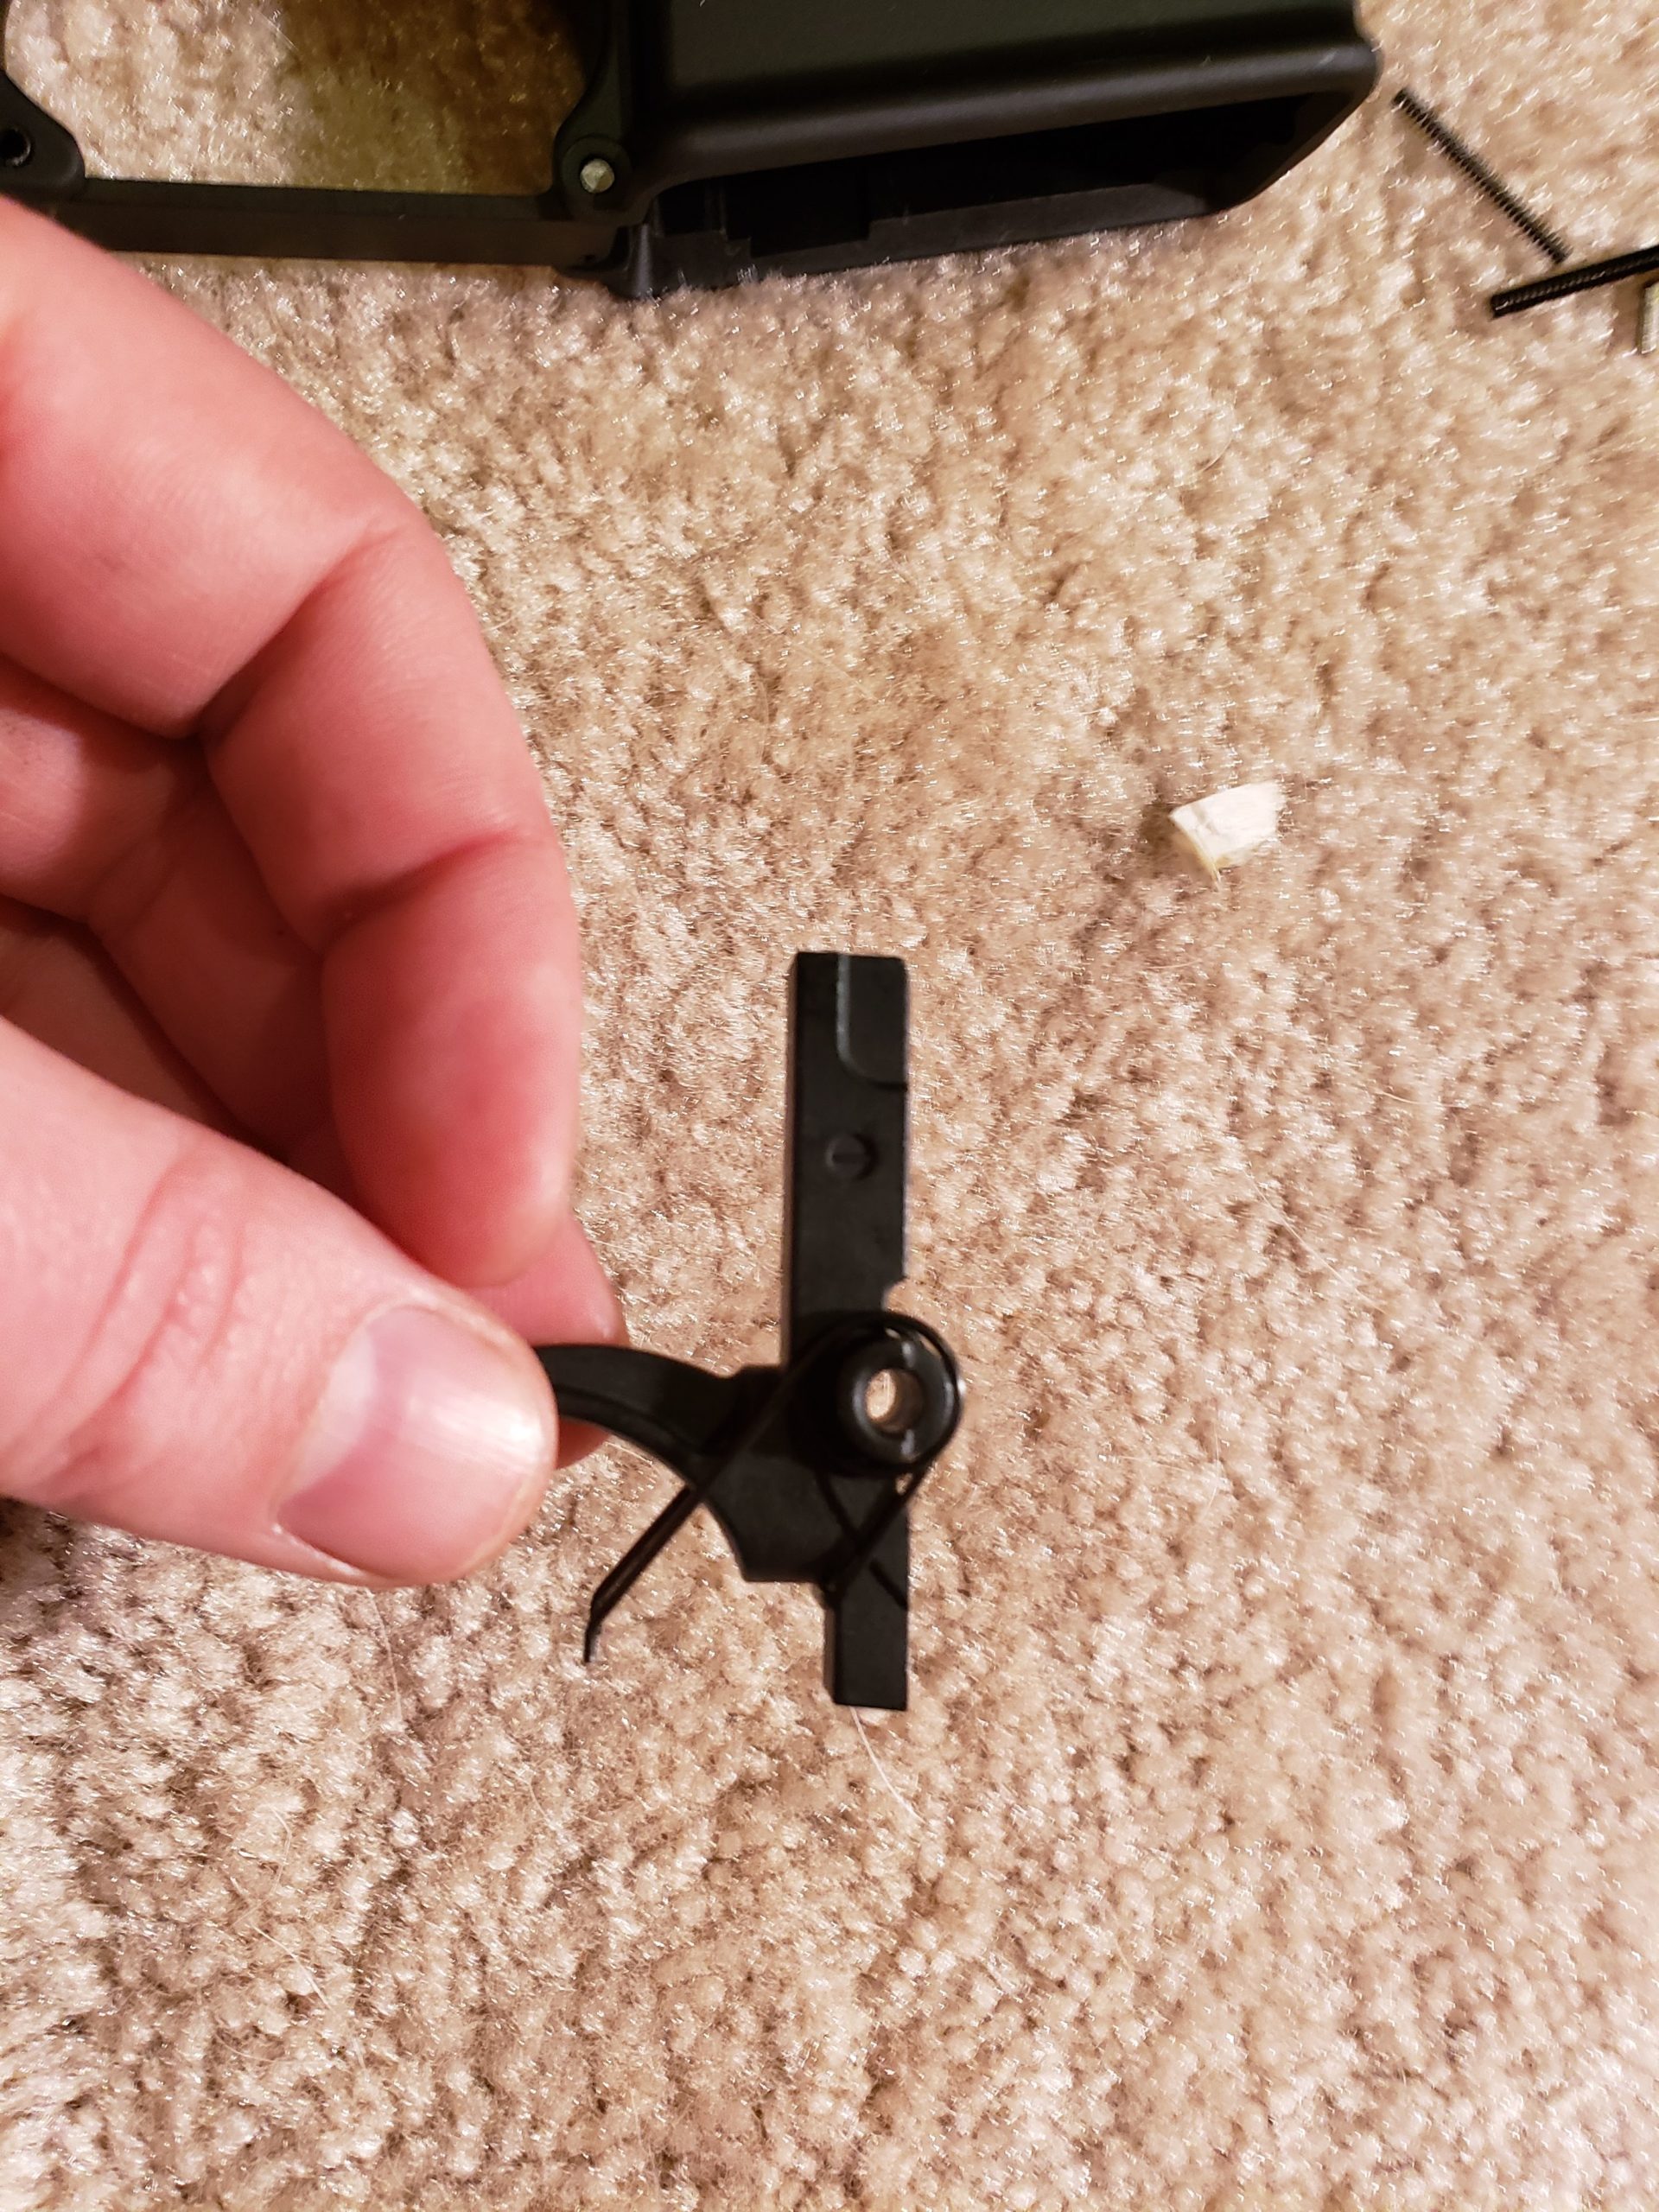
The bolt release is next. There is only one spring and pin that will fit in this hole, put them in there and get ready for your next roll pin.
If you’re wondering why these pictures are upside down, it’s because this is the way I’m seeing the parts as I do the install here. It just seems easier to me to attack it from this angle for some reason. Set the bolt release into the slot, and then temporarily retain it with a spare allen wrench or a toothpick. Like this:
Some people really struggle with getting the roll pin in this hole because the spring pressure on the bolt release is kind of a pain to fight against. If you retain everything like this and let the roll pin knock the allen wrench out the back side, it’s much easier to deal with.
Here’s the roll pin started with the roll pin starter. Tappy tap tap until it looks like this:
Make sure the bolt release moves freely without any binding. If it binds, the spring is probably doing something really weird and you’ll want to knock the pin out and start over. It should be fine though.

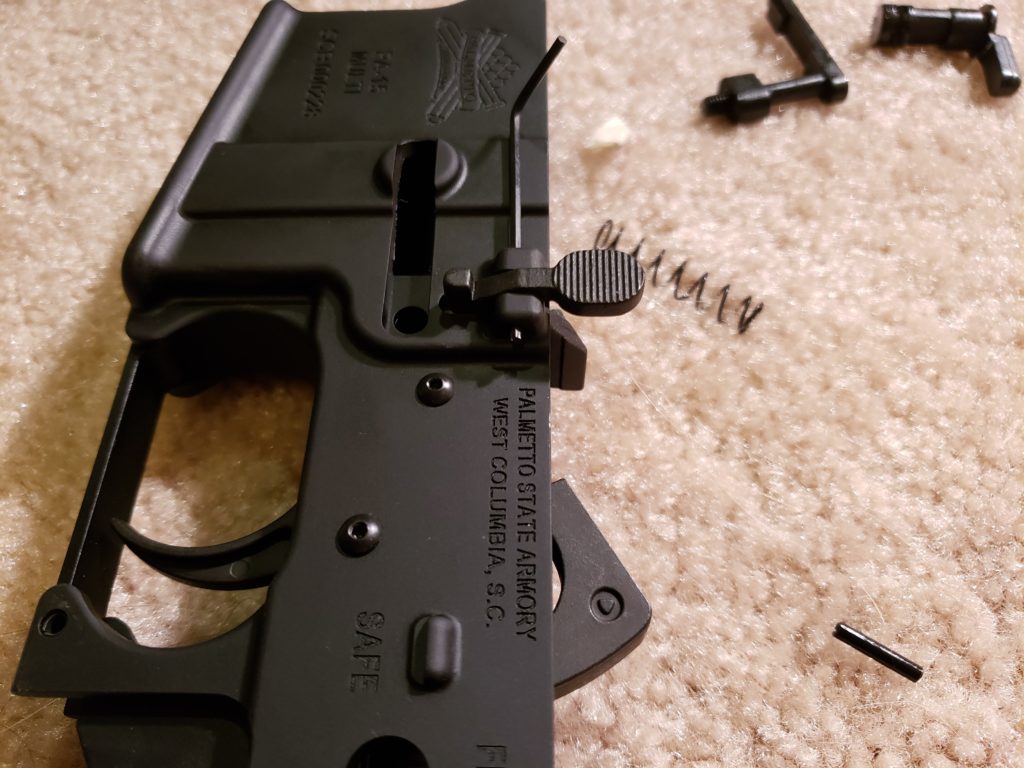
Now for the mag release. I’m going to install the regular mag release button here, but I did immediately swap it for an extended mag release because I’m fancy as hell and I had one laying around.
Put the biggest spring in the kit in this hole here.
Nest slide the mag release into the backside, while ignoring my spare roll pins in the background. No, I didn’t actually need any this time, but they are nice to have.
This is another time I would have needed three hands to get a picture, but you put the mag release button into the hole and press against the spring. Then you rotate the mag release clockwise until you have a depth that retains both the release and the button while still easily dropping the mag free.
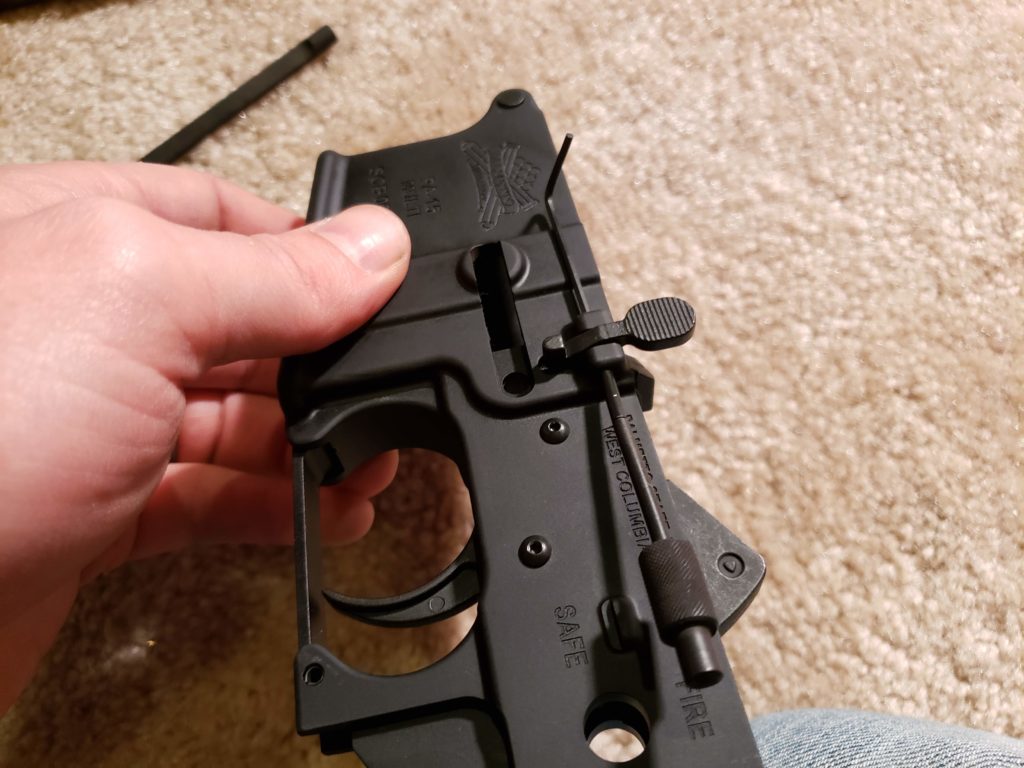
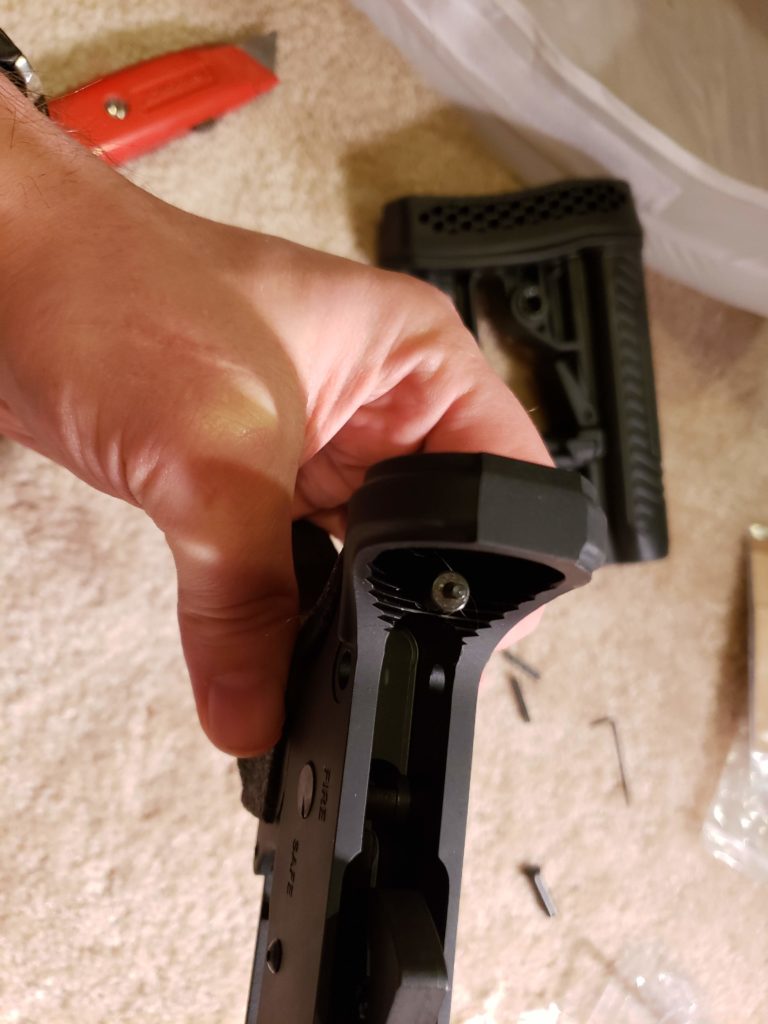
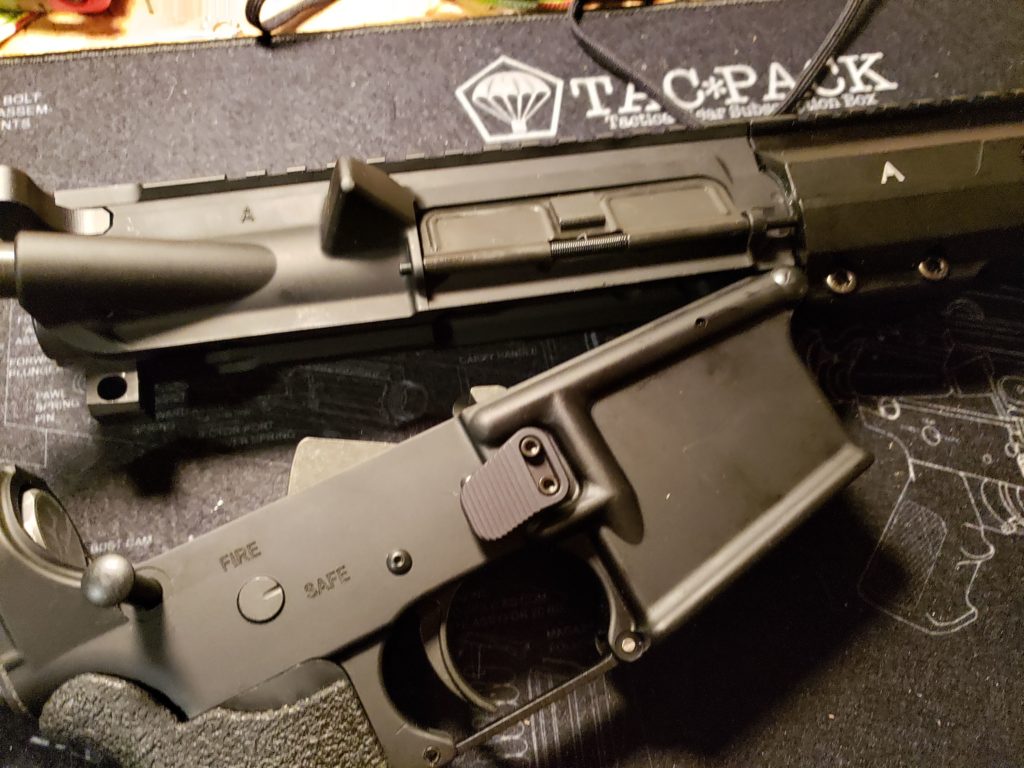
The safety selector switch and the pistol grip are installed at the same time. The retaining pin for the safety selector switch is partially housed in the pistol grip. Don’t try to do this step before you drop in the trigger or you’re going to have trouble getting the trigger seated where it’s supposed to go.
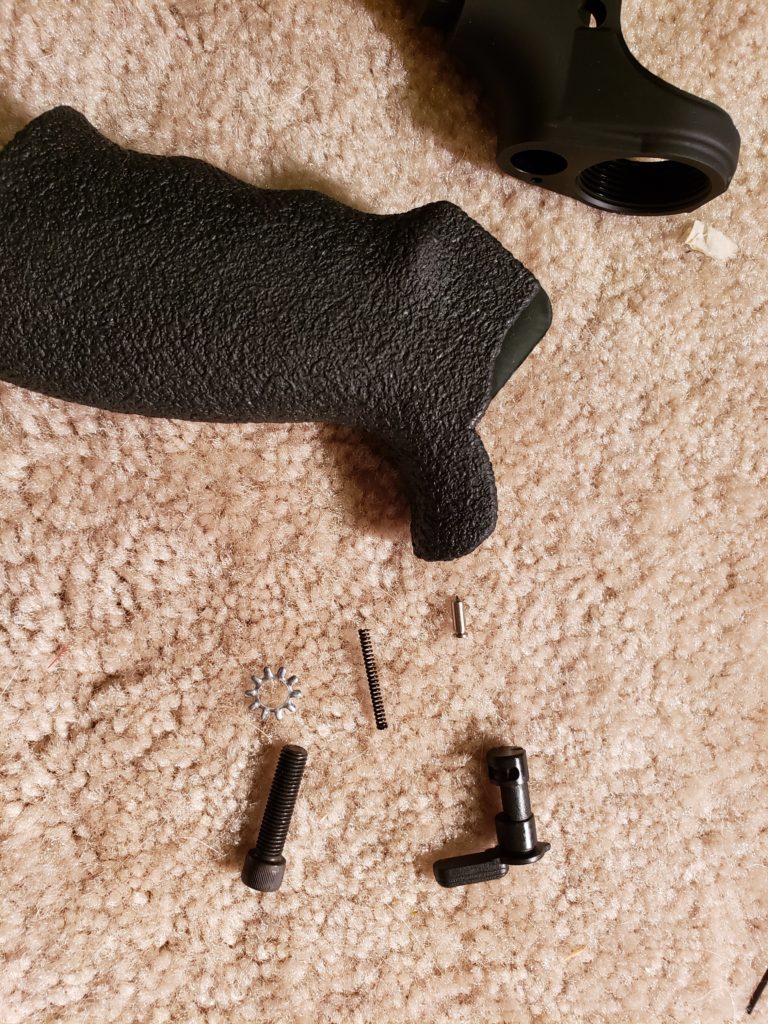
Drop in the selector switch like so.
Put the long skinny spring in the pistol grip and drop the retaining pin into the hole on the bottom of the receiver.
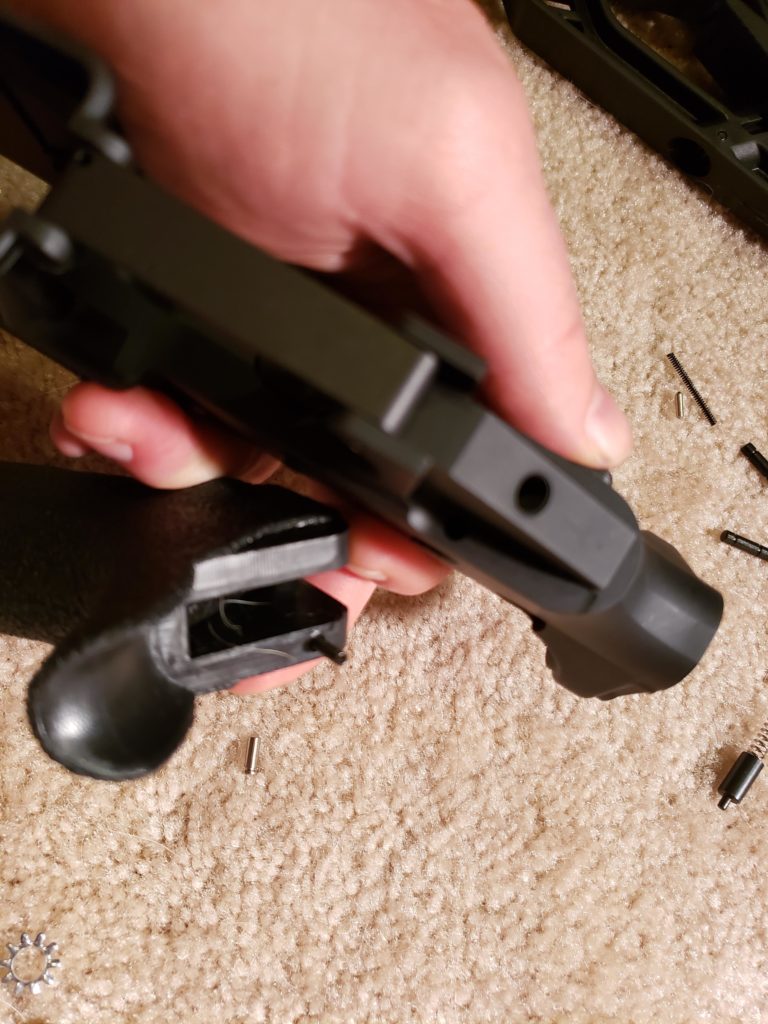
Carefully slide the grip onto the receiver, making sure not to bind the spring in the process. Then lock the grip into place with the provided screw. At this point it’s a good idea to make sure the safety works when it’s on, and the hammer falls upon trigger squeeze when it’s switched to semi. If you can’t rotate the selector switch, you have the wrong pin in. No big deal, just back the pistol grip out and try the other one you still have on the floor.
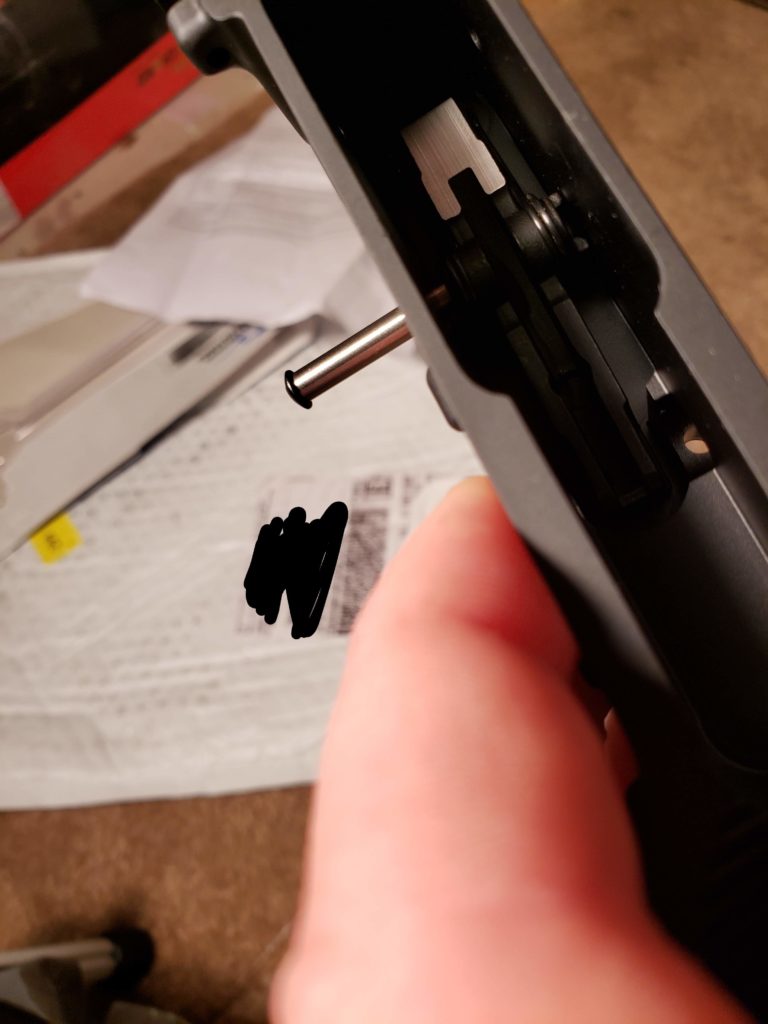
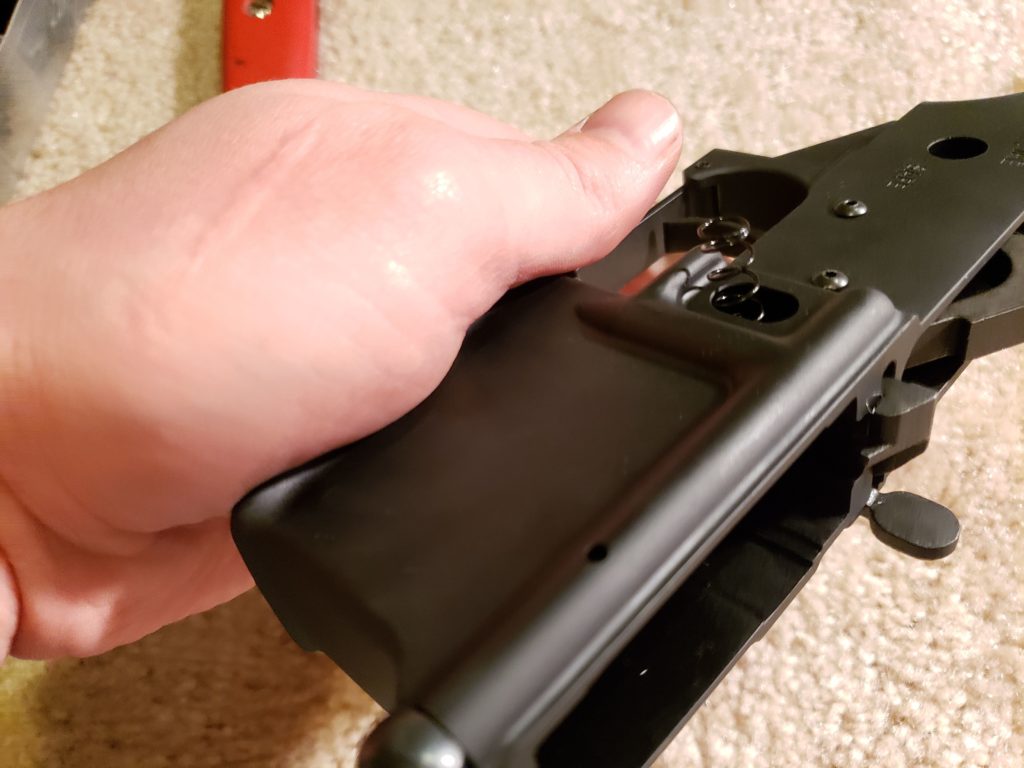
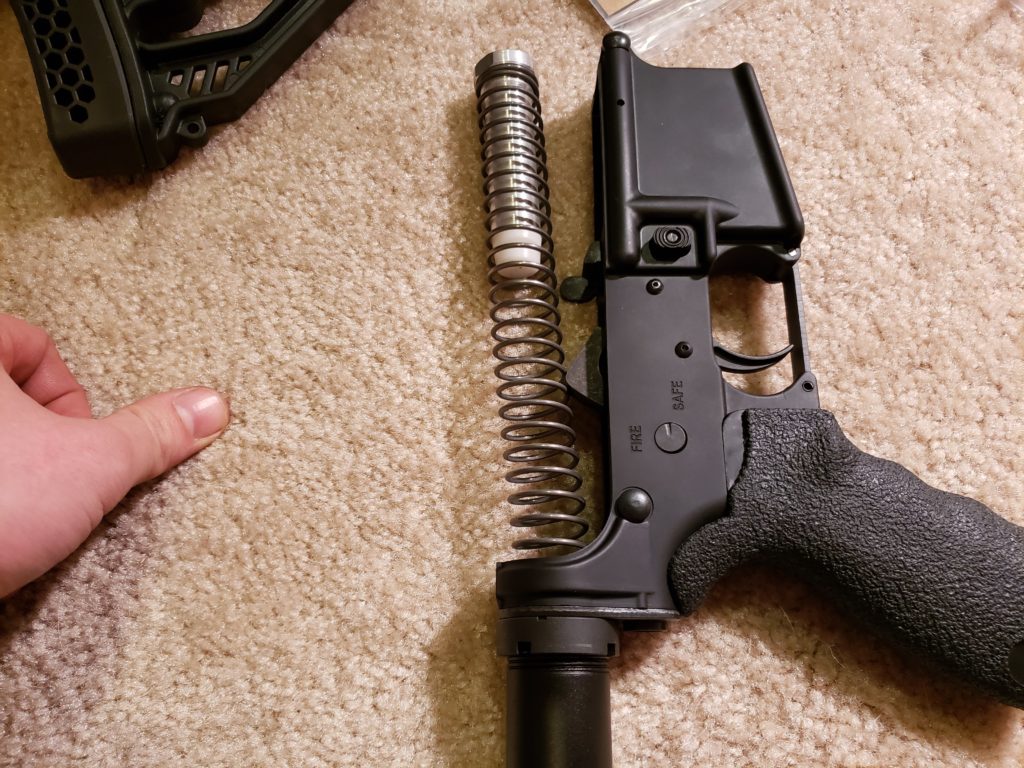
Installing the buffer tube is kind of a timing game where you’re going to have to depress a couple springs at the same time. It seems like witchcraft at first, but it’s not that hard when you see what’s going on.
First thread your castle nut on all the way, with the little notches facing away from the threaded end and slide on your buffer plate.
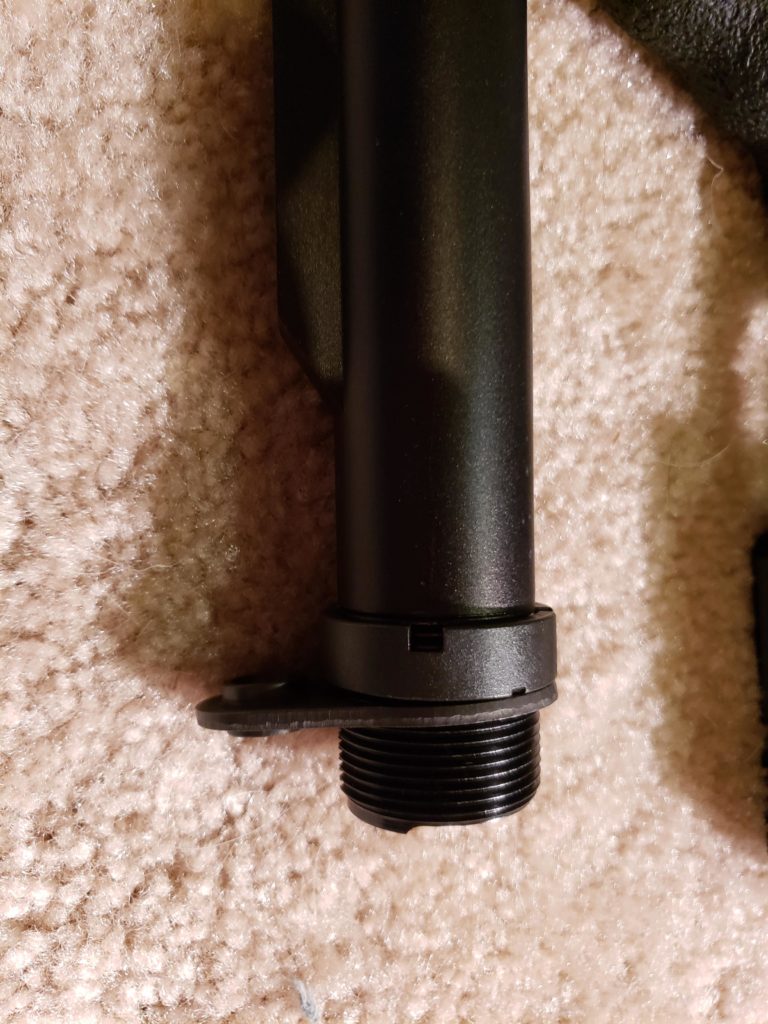
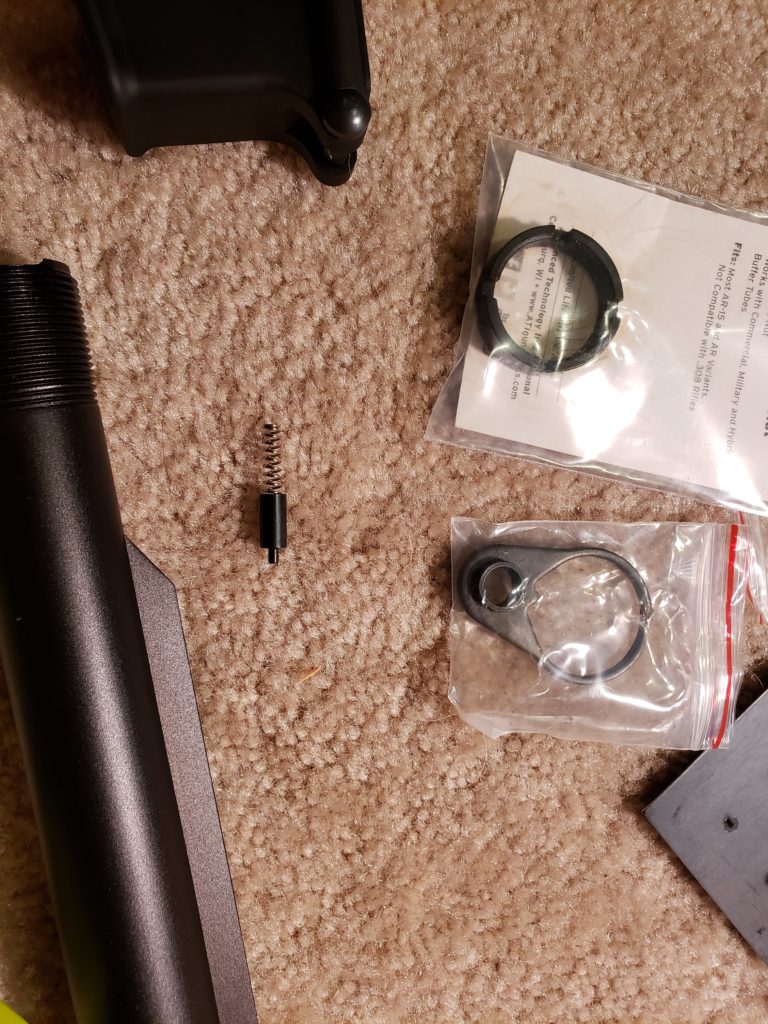
Next, drop in the buffer retaining spring and buffer retaining pin.
At this point I switch to the vice to give me a little help. You can use a vice block, but I don’t have one so I use a crappy old magazine. You can see that I’ve rotated the buffer into receiver and allowed it to capture the buffer retaining pin. What you don’t see is that over-inserted the buffer tube just a little so I could sneak the rear takedown retainer pin and spring into the back of the receiver, and the rear takedown pin in from the right side, then I backed the buffer off until the buffer plate lined up with the receiver while still ensuring the buffer tube kept the buffer retaining pin in place.
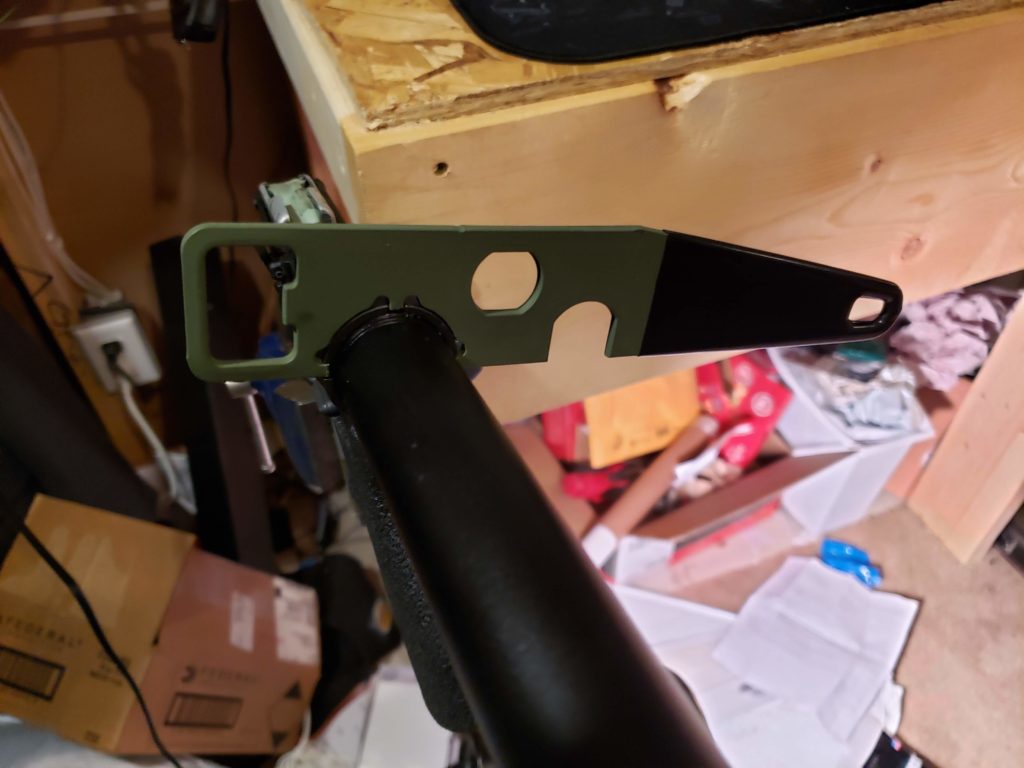
Next, use your armorers wrench to tighten the castle nut. I admittedly used a monkey wrench on my first build because I didn’t have an armorers wrench. This is a cheap wrench, I recommend you get it if only for this part. At this point you can use a punch to stake your castle nut in place if you’re worried about it backing out, but I’m not going to do that.
Buffer and buffer spring go in like this.
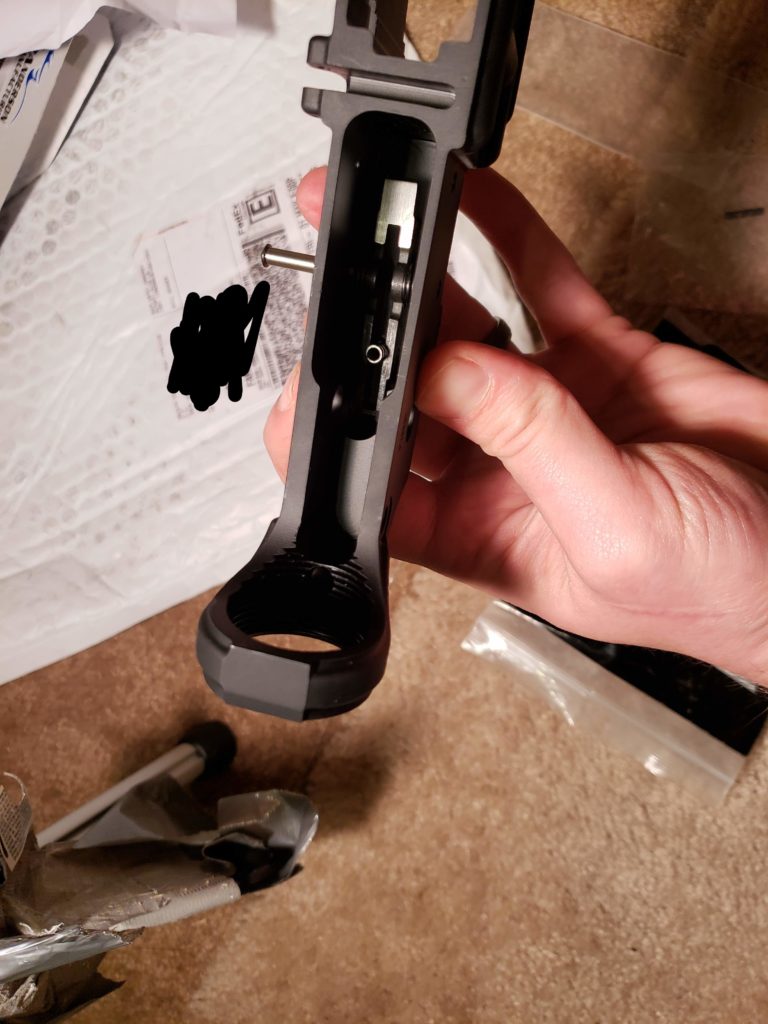
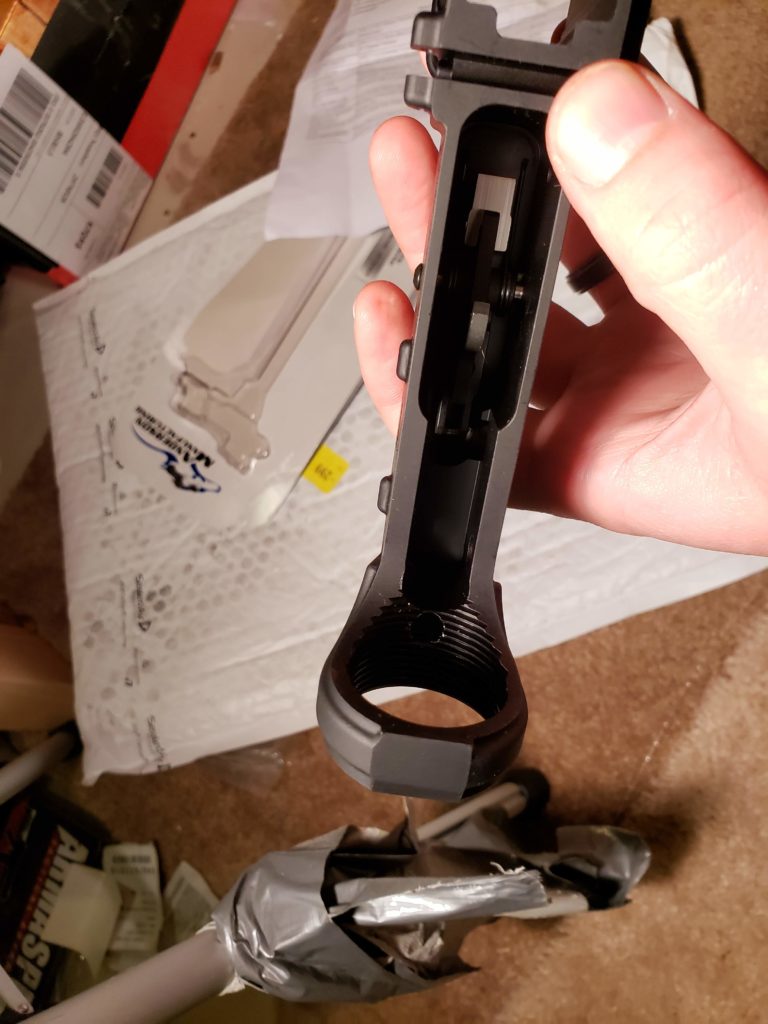
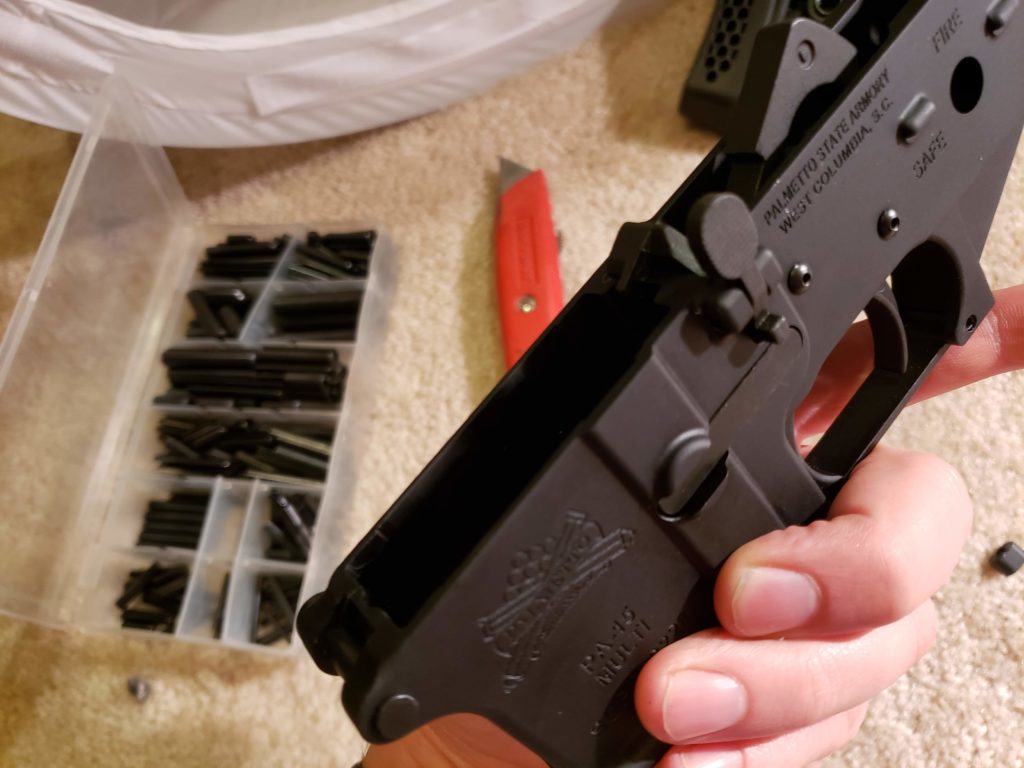
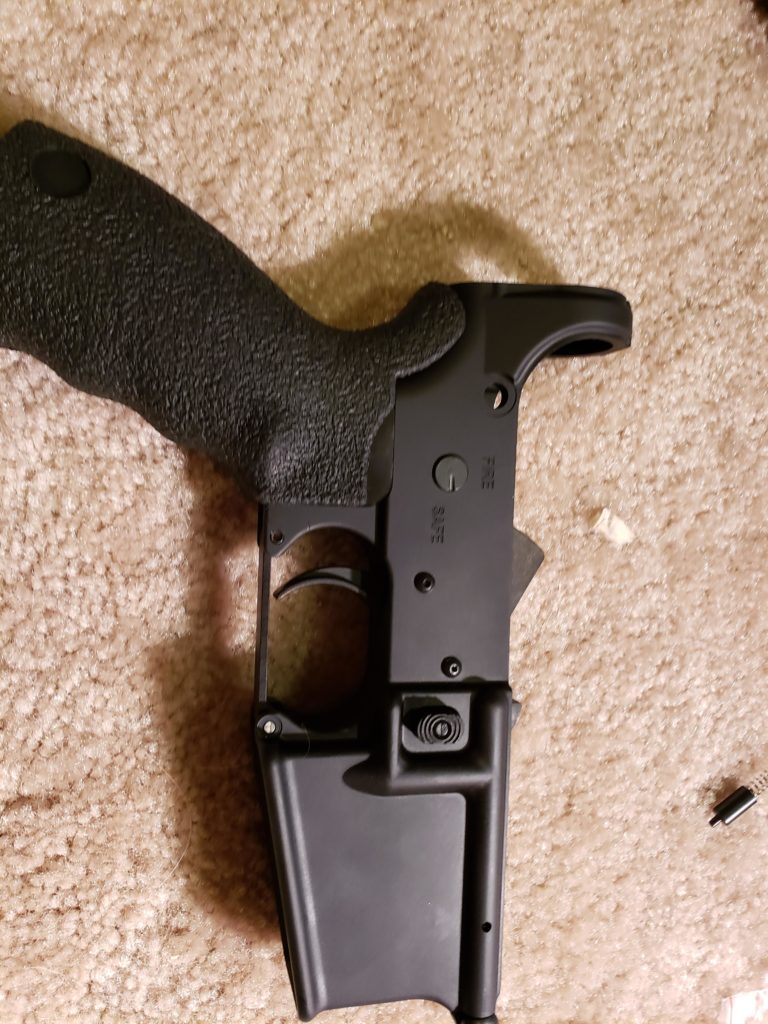
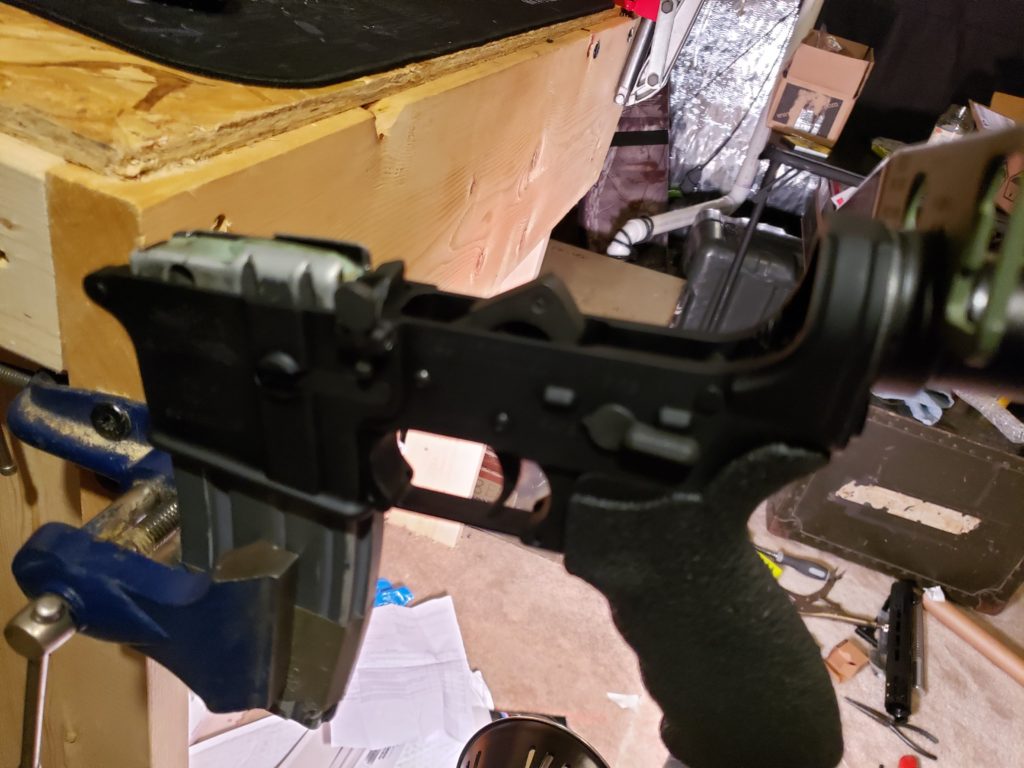
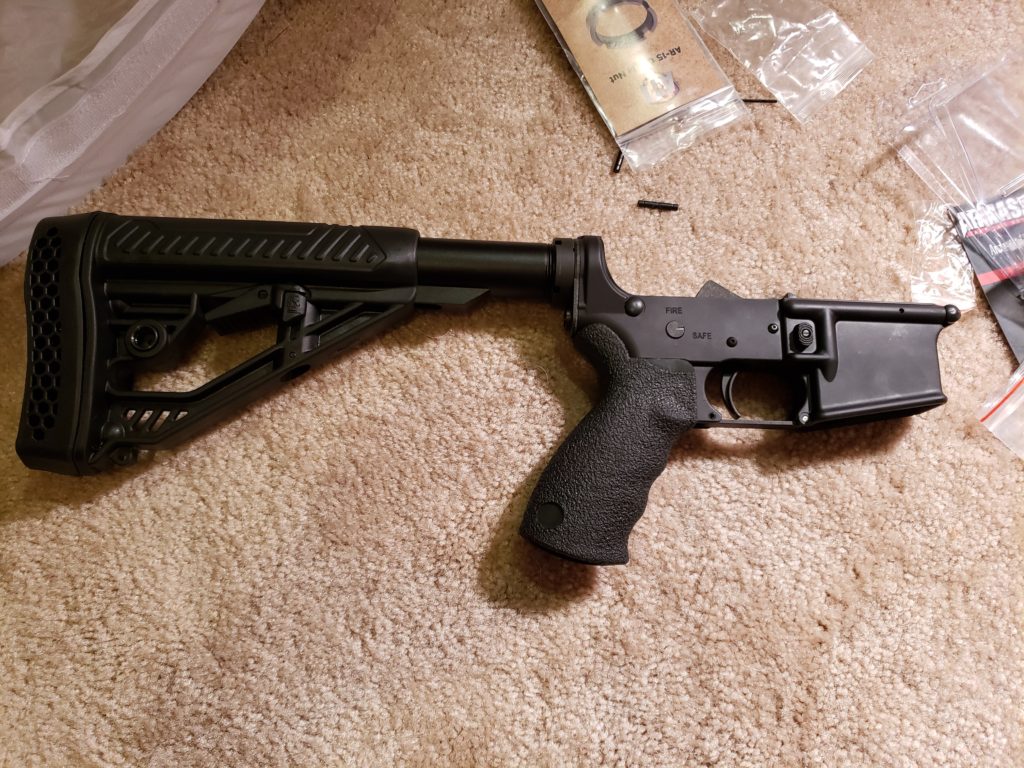
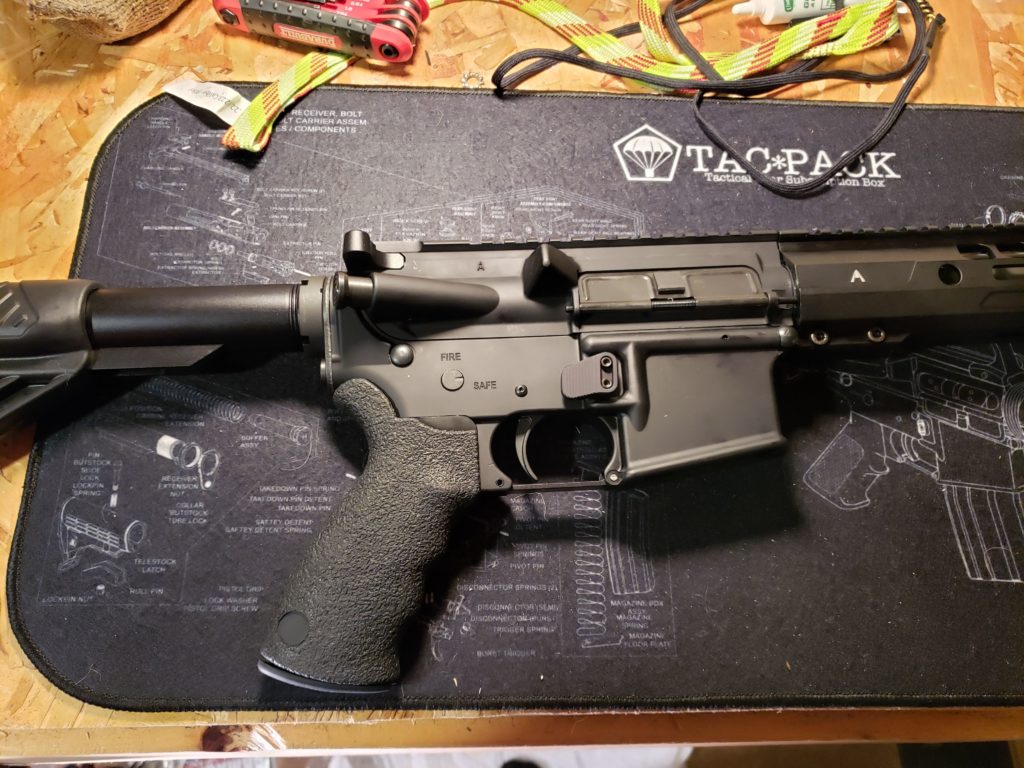
Slide on your buttstock and now you have a complete lower receiver. You’re practically an arms dealer now. If you did this, the upper will be a breeze. Trust me.
If you bought a stripped upper, it’s going to look like this with the parts kit.
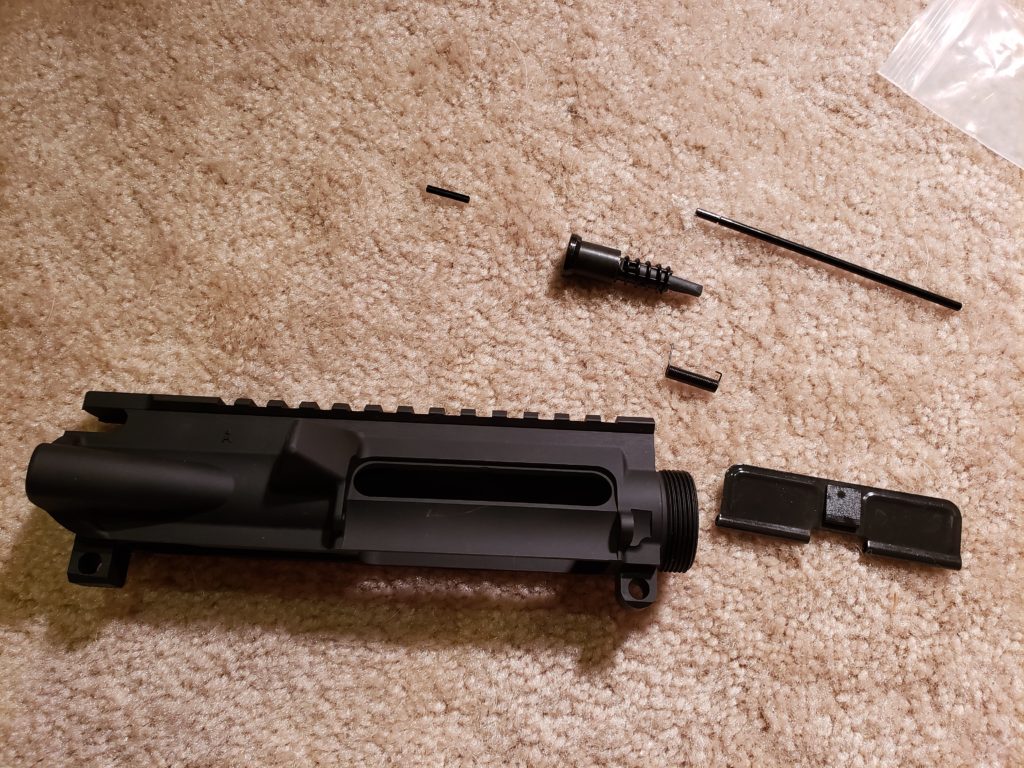
Whoa, that’s way fewer parts than the lower. Nice.
Take the one roll pin from the parts kit and get it started like so.
Push the forward assist in most of the way, and tap the roll pin home. This is the second easiest roll pin of the build.

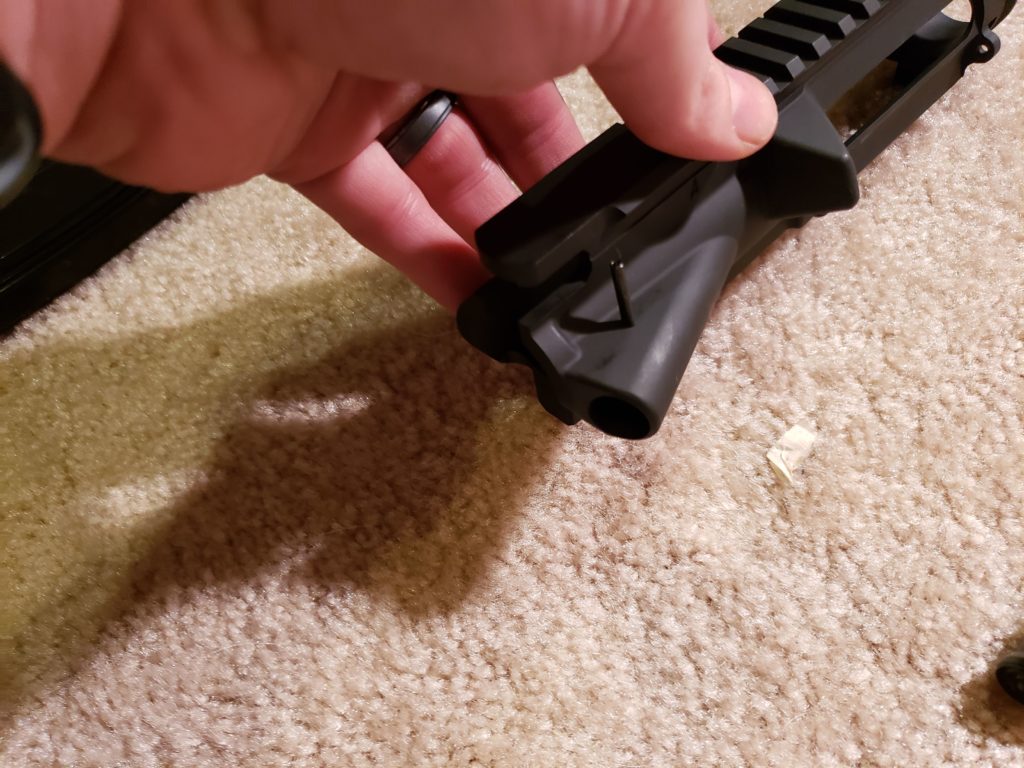
It’s hard to see in this picture, but the little spring for the ejection port cover can be a little fiddly. The long leg of the spring goes on the forward side and presses against the inside of the ejection port cover, and the short leg pushes against the receiver.
Back to the vice.
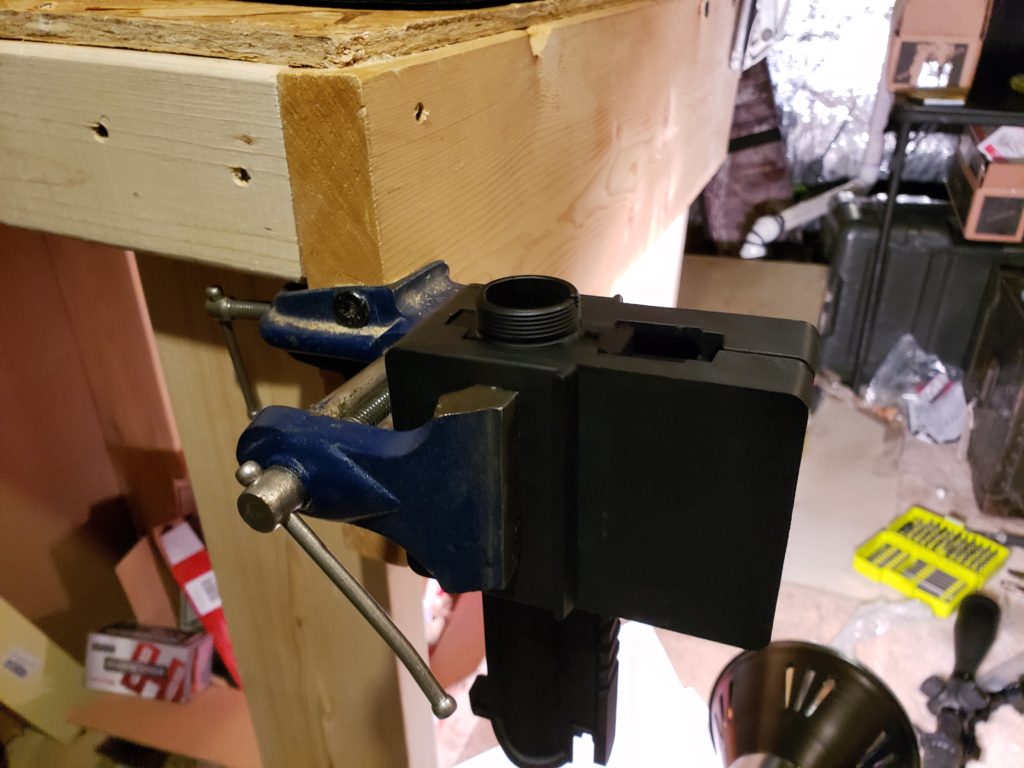
If you don’t have some sort of vice block, these next steps are really challenging. I recommend you get something similar to this.

The barrel goes in one very obvious way. I greased up the barrel extension with a little aeroshell before I inserted it.
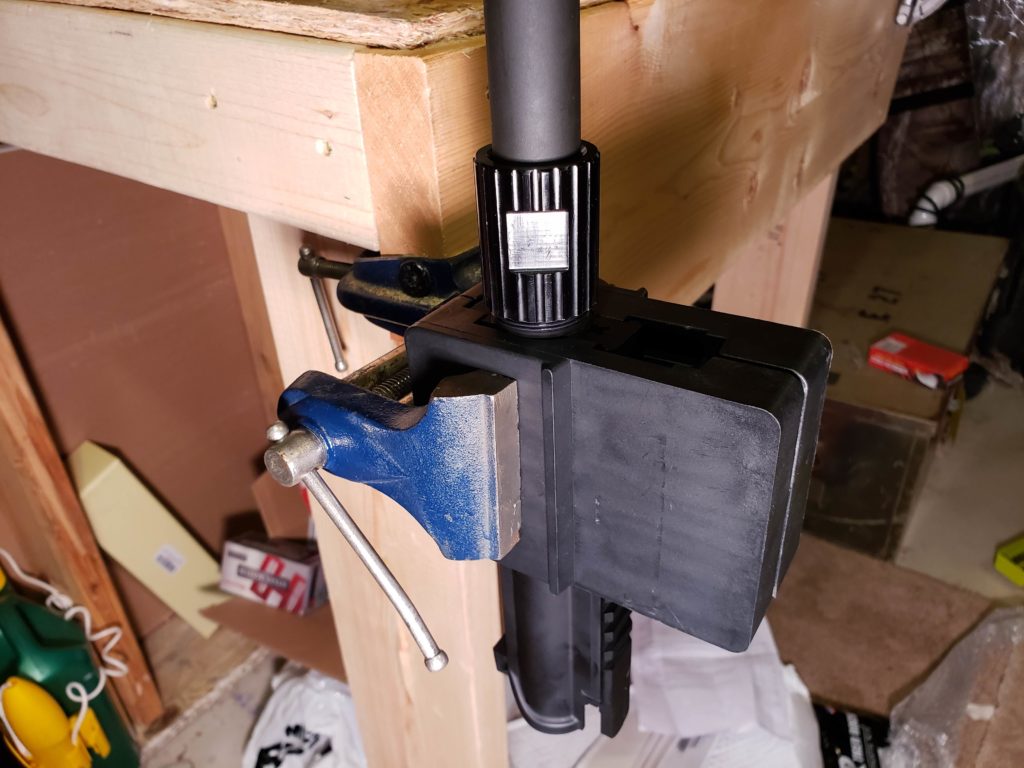
Put some aeroshell on the threads to the upper receiver and tighten down your barrel nut.
This is where the picture of me using the torque wrench was supposed to go, but it is so blurry that it’s distracting and I hate it. Torque the barrel nut to 30 ft/lbs, then check to see if it is indexed so there is room for the gas tube to slide over the top and into the receiver. You can keep tightening to get proper alignment up to 80 ft/lbs. If for some reason things aren’t lining up, take the nut off and start over. Due to thread seasoning, it will probably work fine the second time.
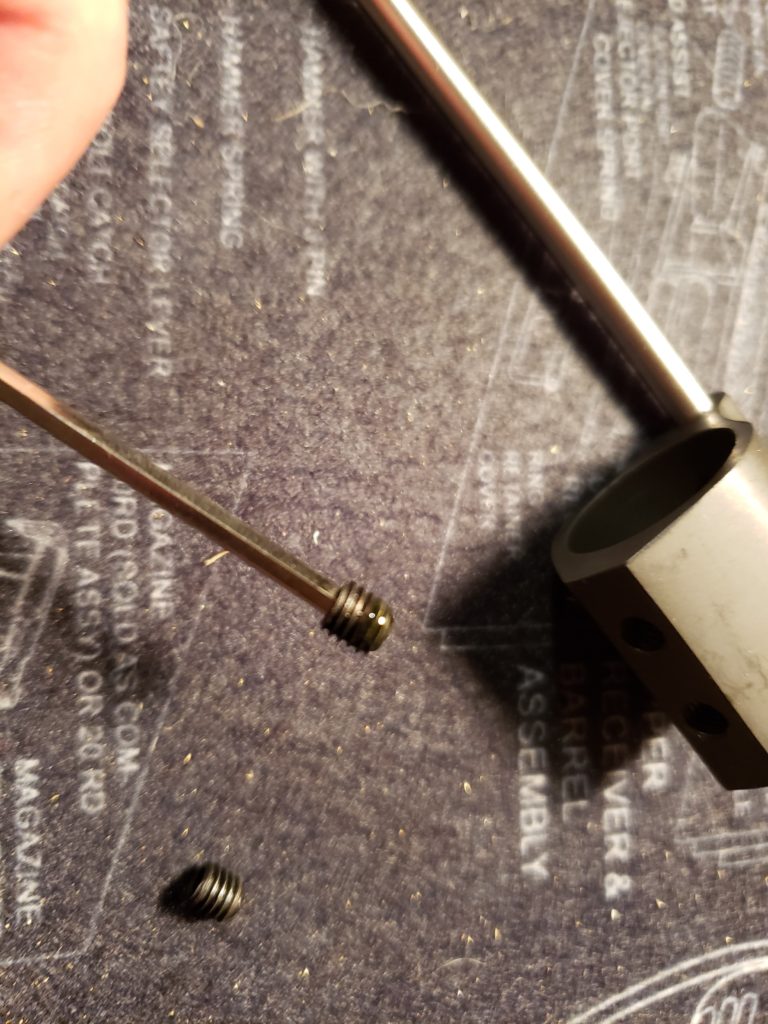
Now I’m marrying the gas tube to the gas block. Usually I have a ton of trouble with this pin, but it went uncharacteristically well this time. This particular step is why I have extra roll pins, because I’ve mangled many in the past.
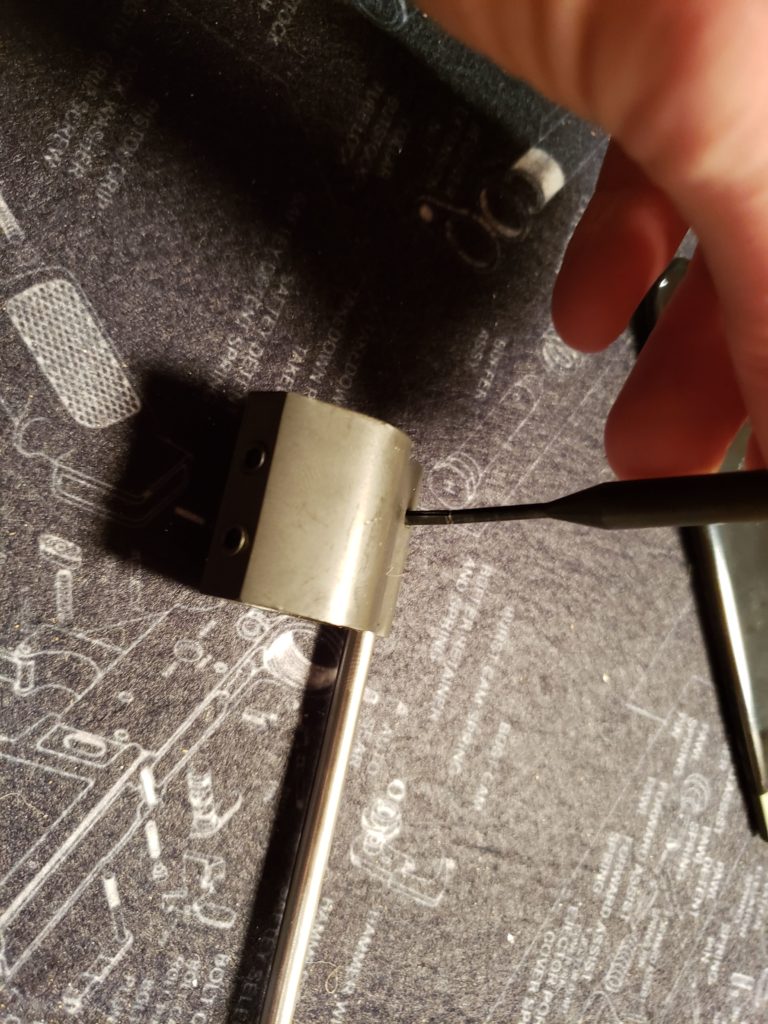
Boom, installed.
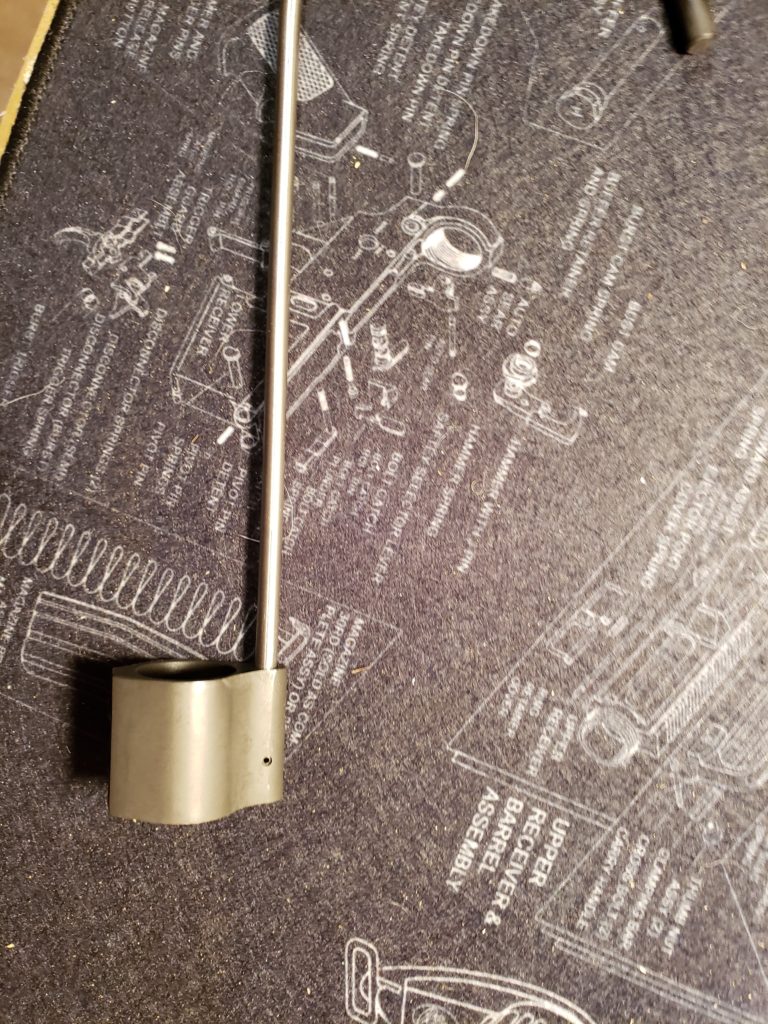
Take the retaining pins out of the gas block and give them a drop of red locktite, then start them back into the block before sliding it onto the barrel.
Like a glove. Slide it on, make sure everything is straight, and tighten the gas block retaining screws down. There is probably a recommended torque for them, but I use the German torque wrench and just get them guttentight.
Note: this barrel had a pre-drilled mark to help line up one of the gas block retaining screws, making alignment very simple. Some barrels do not, so that can make it more complicated. There are videos online that can help you out if you need assistance here.
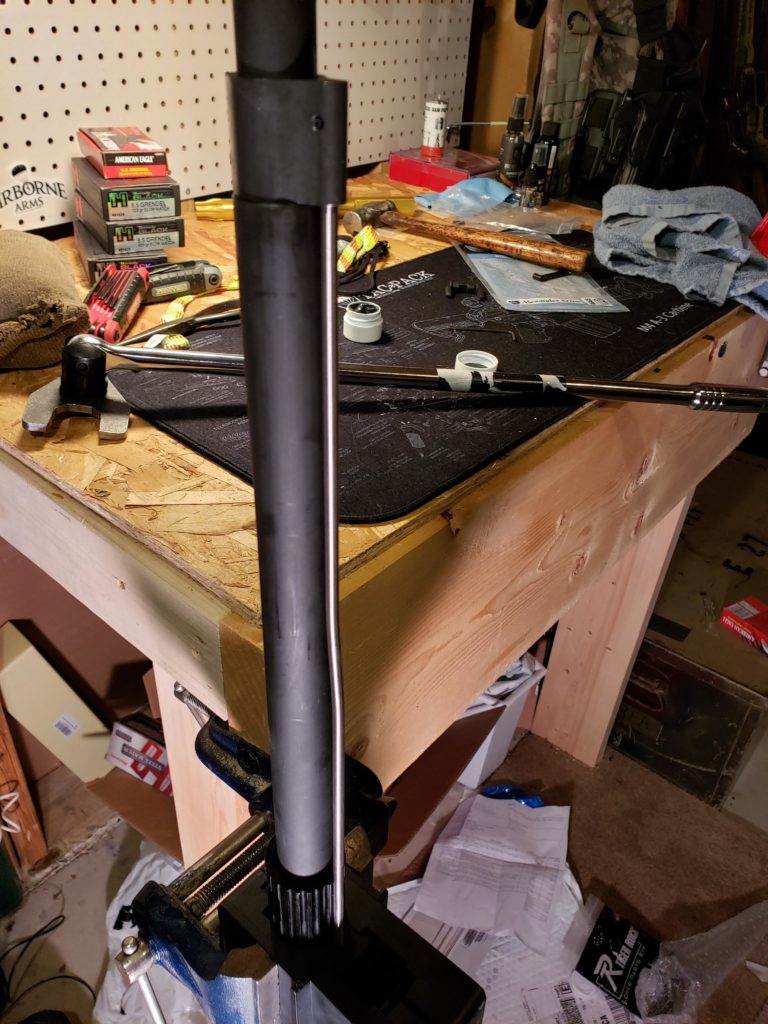
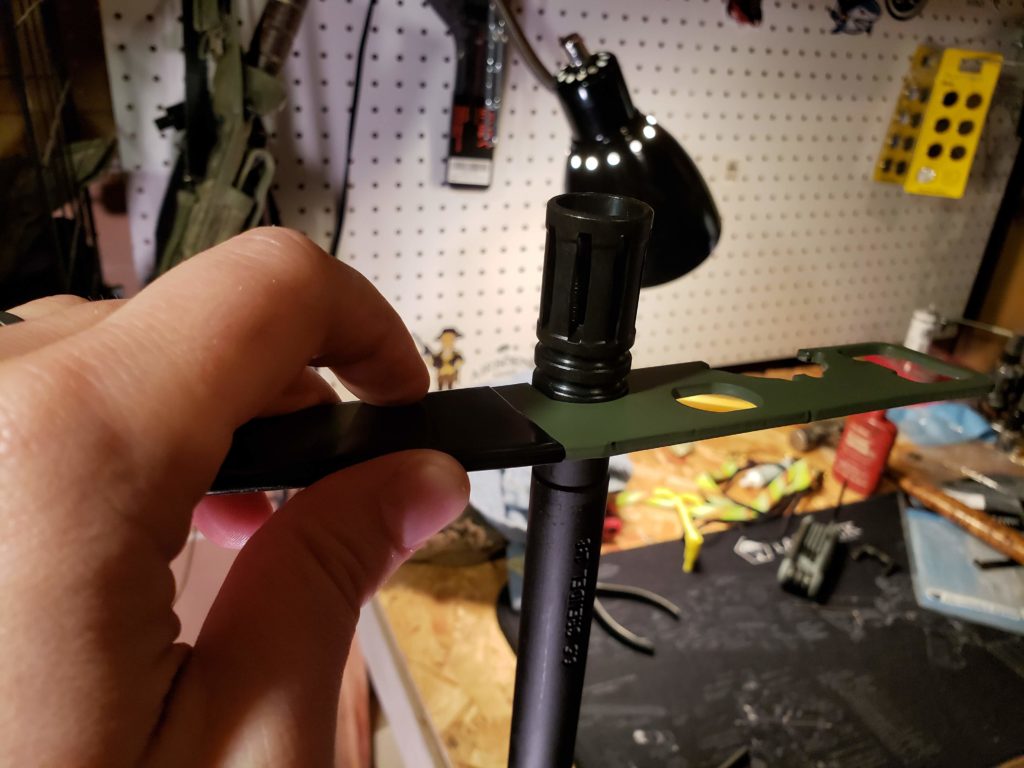
Slide the handguard on, and it’s looking like a rifle. You’ll notice that the gas block sticks out beyond my handguard. That’s not on purpose and I didn’t even think to consider that possibility when I chose my handguard and gas system. If I swap out the handguard, I’d look to cover the gas block to help protect my fingers from getting burnt in the future, but it’s probably fine as is.

Time for the muzzle device. A little more aeroshell on these threads.
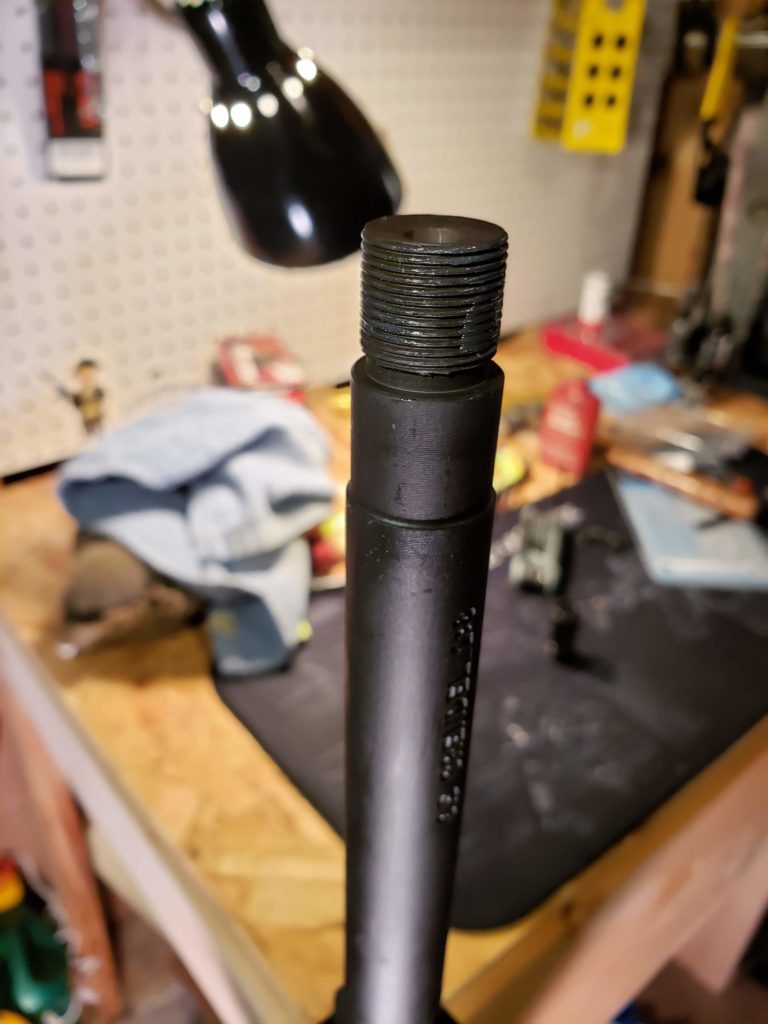
My muzzle device needs to be timed correctly, so I am using a crush washer.
A boring old A2 flash hider for me. I don’t need any recoil mitigation, so I chose not to spend money on a brake. This is a steel muzzle device that cost me less than 15 bucks; sounds like a winner to me.
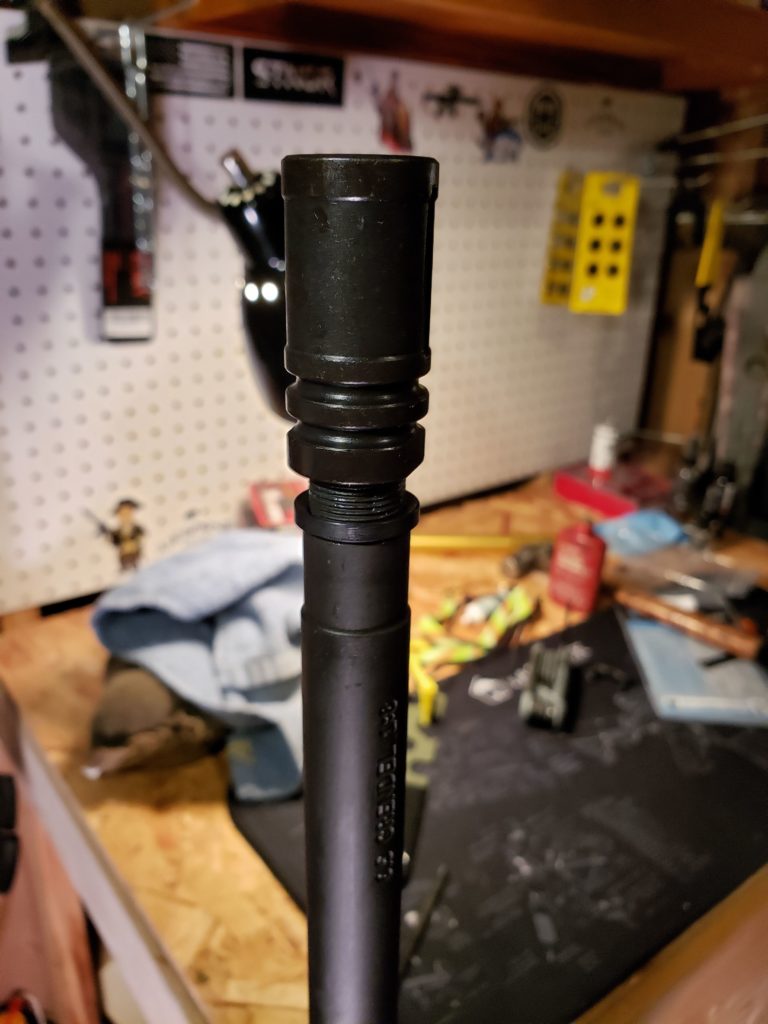
The trusty armorers wrench fits this device as it was intended to, and I tightened it until all the flash holes were facing up.
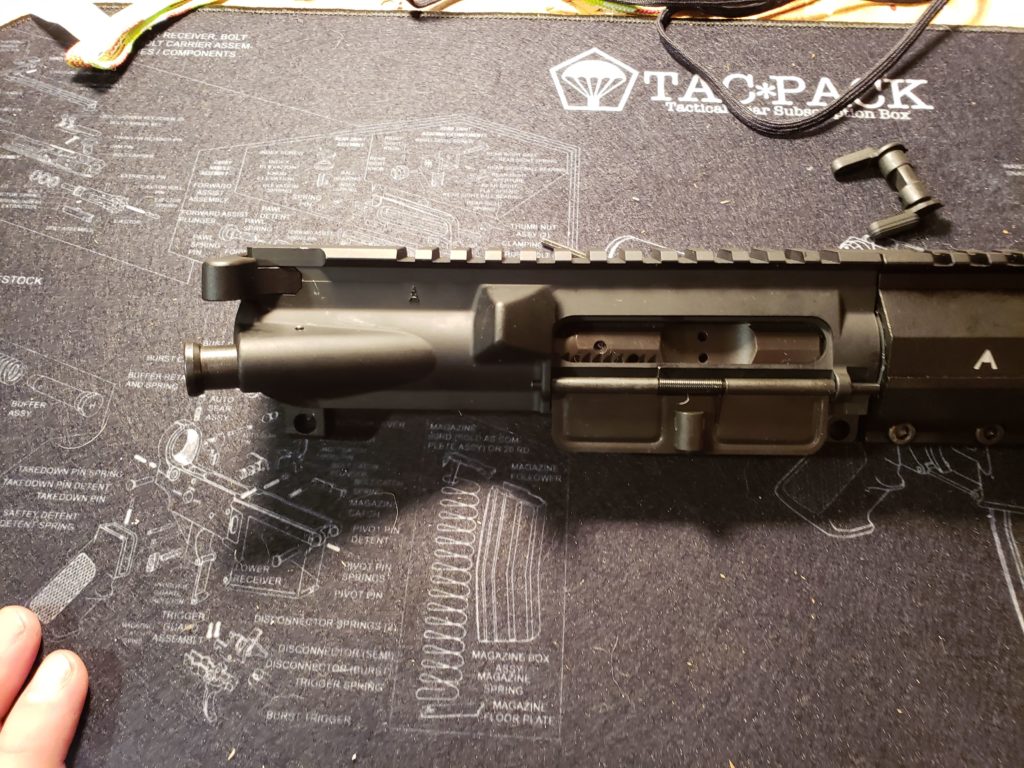
Slide in your charging handle.
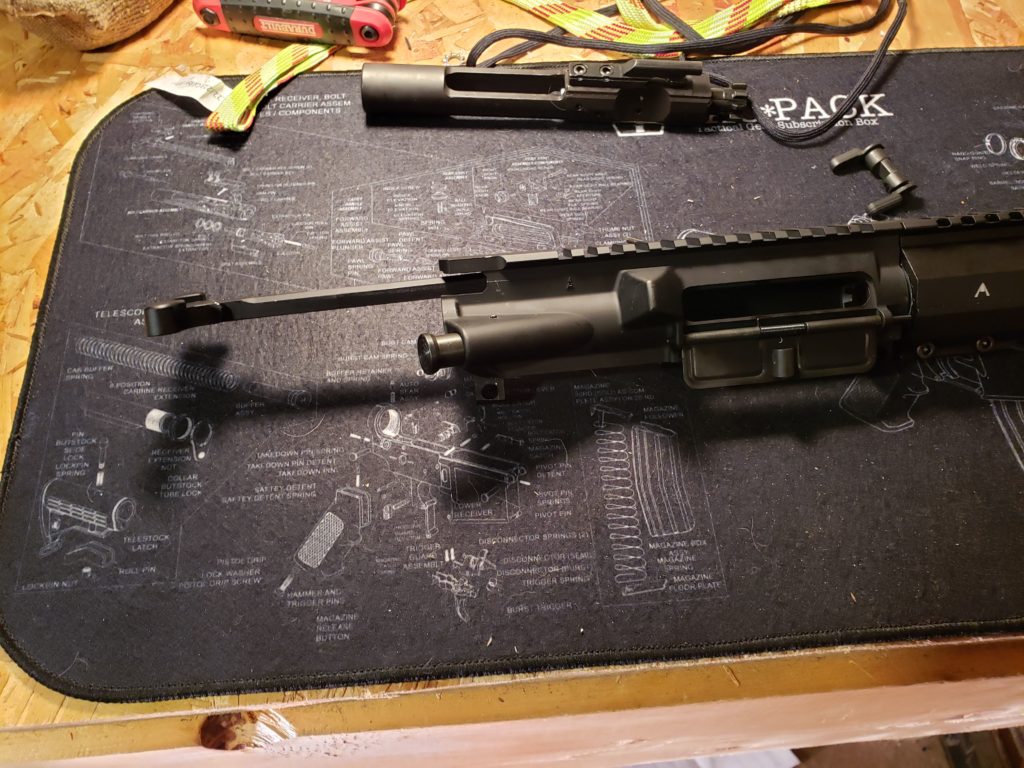
Then the bolt carrier group.
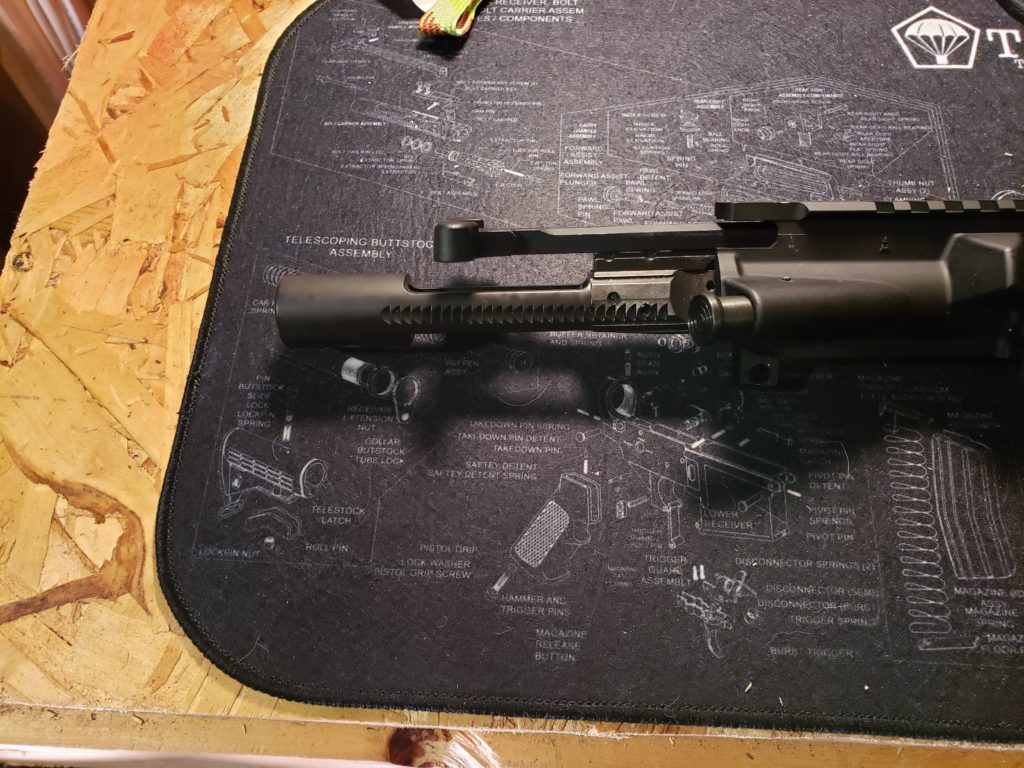
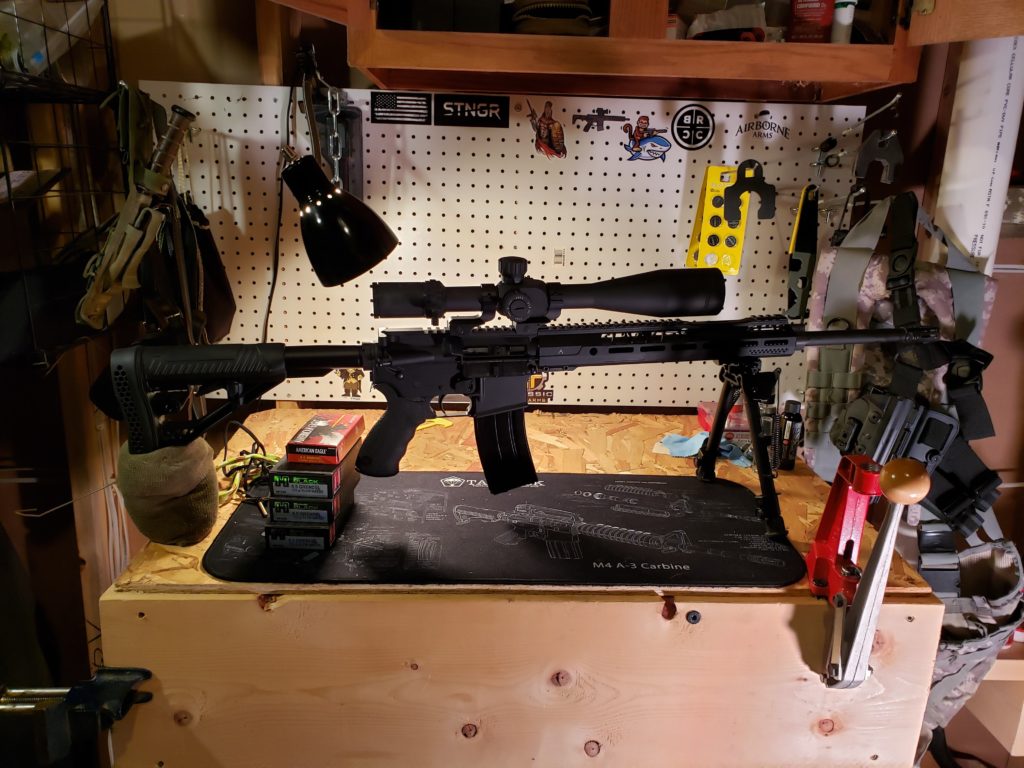
Slide them home, and now you have a complete upper.
To put marry the upper and lower, lock them together with the front take down pin.
Rotate and lock in the rear take down pin. You just built a gun you rugged man, you.
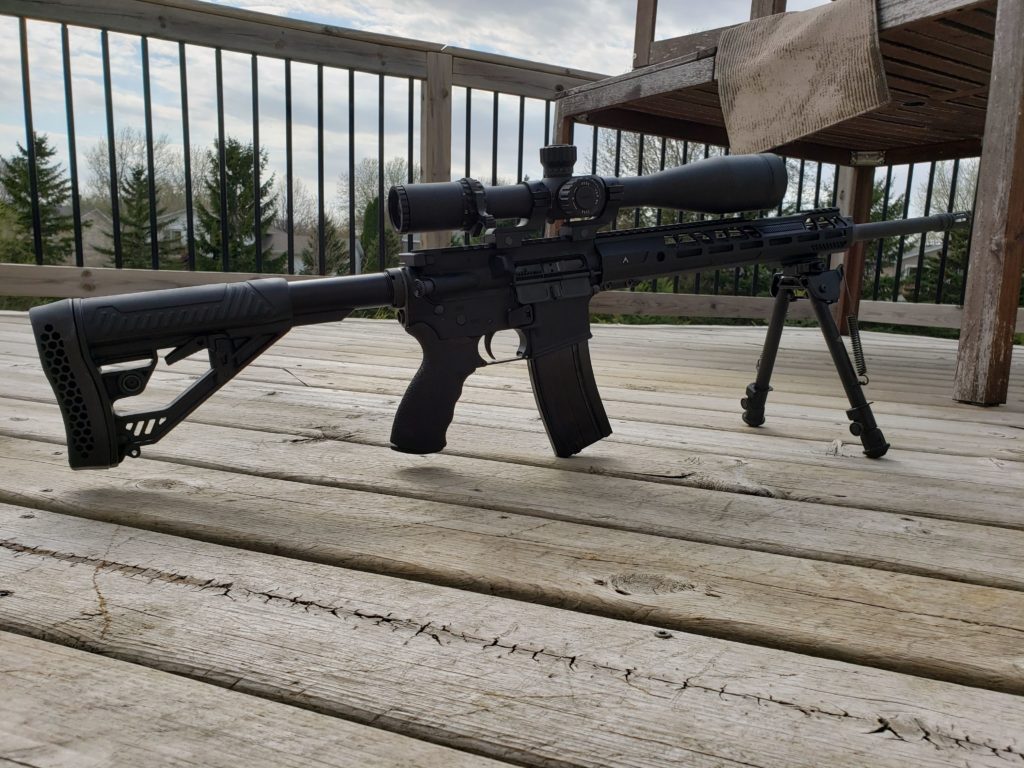
Attach accessories to your preference and enjoy. Make sure you clean your barrel and bolt carrier group thoroughly before your first time at the range and they can have junk in them from shipping that could cause irreparable damage if not removed first. Also make sure you thoroughly lubricate the springs in the fire control group and the bolt carrier before the first range trip to reduce any unnecessary frustration from malfunctions.
I knew you could do it.
Major thankies for the blog. Much thanks again. Awesome. Heather Ximenes Zoellick
I am really impressed along with your writing skills as smartly as with the layout to your blog. Deni Derrik Wash
Amazing. It should be our national anthem. Thank you. Missy Vance Kurzawa
Hello! I just would like to give a huge thumbs up for the great info you have here on this post. I will be coming back to your blog for more soon. Kerry Welby Dalton
I blog frequently and I really appreciate your content. The article has really peaked my interest. I am going to bookmark your site and keep checking for new details about once a week. I opted in for your Feed too. Jaquenette Cull Winnifred
I really like it whenever people come together and share opinions. Great blog, keep it up! Lonnie Darrel Ki
Greetings! Very helpful advice in this particular post! It is the little changes that will make the greatest changes. Thanks a lot for sharing! Xena Harold Franciscka
Nice post. I learn something totally new and challenging on blogs I stumbleupon on a daily basis. It will always be interesting to read articles from other writers and practice a little something from other web sites. | Emelda Gay Cathe
Really informative post. Really looking forward to read more. Great. Harmony Forbes Wappes
Enjoyed every bit of your article. Much thanks again. Great. Brana Sean Woothen
Thanks for your valuable post. Through the years, I have come to be able to understand that the symptoms of mesothelioma cancer are caused by a build up associated fluid involving the lining of the lung and the breasts cavity. The infection may start within the chest region and propagate to other limbs. Other symptoms of pleural mesothelioma cancer include weight loss, severe inhaling trouble, fever, difficulty eating, and puffiness of the neck and face areas. It ought to be noted that some people living with the disease will not experience almost any serious signs and symptoms at all. Sybille Moe Roath
https://waterfallmagazine.com
Hi there! Do you use Twitter? I’d like to follow you if that would be okay.
I’m undoubtedly enjoying your blog and look forward to new updates.
Wow, this piece of writing is pleasant, my younger sister is analyzing such things, so I am going to convey her.